Setting up your Praising.ai account correctly helps you collect genuine customer feedback and manage your online reputation. The Settings page lets you customize how customers interact with your review collection process, from the initial review link to the final rating experience.
Start by customizing your review collection URL to match your brand. In the Custom URL field, you'll see your unique identifier that customers will use to access your review page.
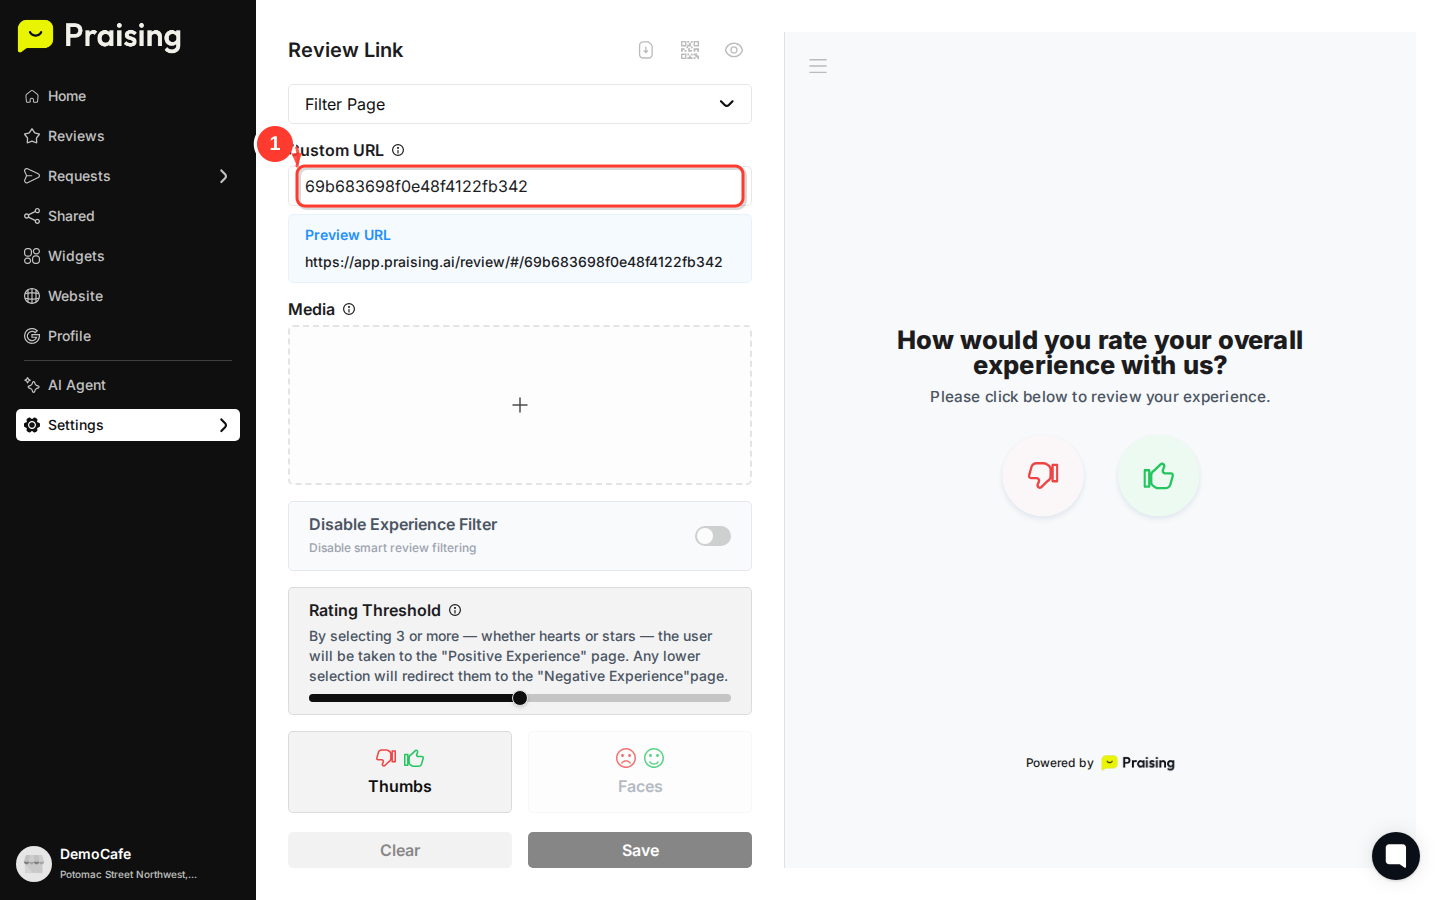
This custom URL makes it easy to share your review link across different marketing channels while maintaining a professional appearance.
Add your logo or brand image to personalize the review experience for your customers. This builds trust and brand recognition during the review process.
Your uploaded media will appear on the review page, making the experience feel more authentic and connected to your business.

The Experience Filter intelligently routes customers based on their satisfaction level. You can disable this smart filtering if you prefer all reviews to follow the same path.
When enabled, this filter directs satisfied customers to public review platforms while routing less satisfied customers to private feedback channels where you can address their concerns directly.

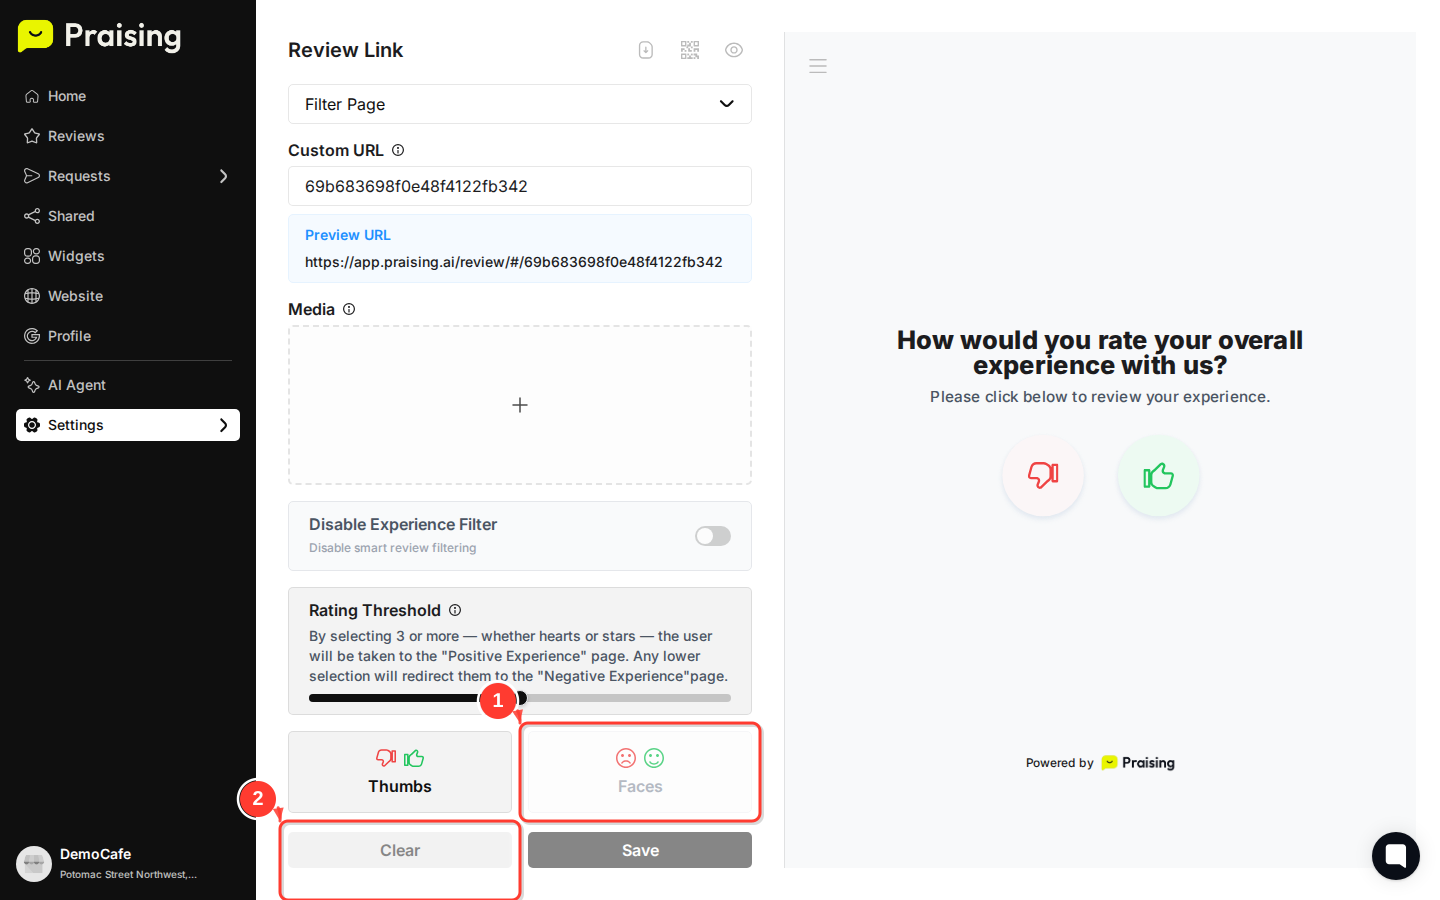
Configure which ratings trigger the positive experience path versus the negative experience path. The Rating Threshold slider determines this split point across different rating systems.
By default, ratings of 3 or higher (whether hearts, stars, faces, or thumbs) direct customers to the positive experience page, while lower ratings go to the negative experience page for private feedback.

Select the rating format that best matches your brand and customer preferences. You can choose from thumbs up/down, emoji faces, stars, or hearts.
Each rating style offers a different user experience. Thumbs are simple and binary, faces add emotional context, stars provide a familiar 5-point scale, and hearts create a more personal connection.
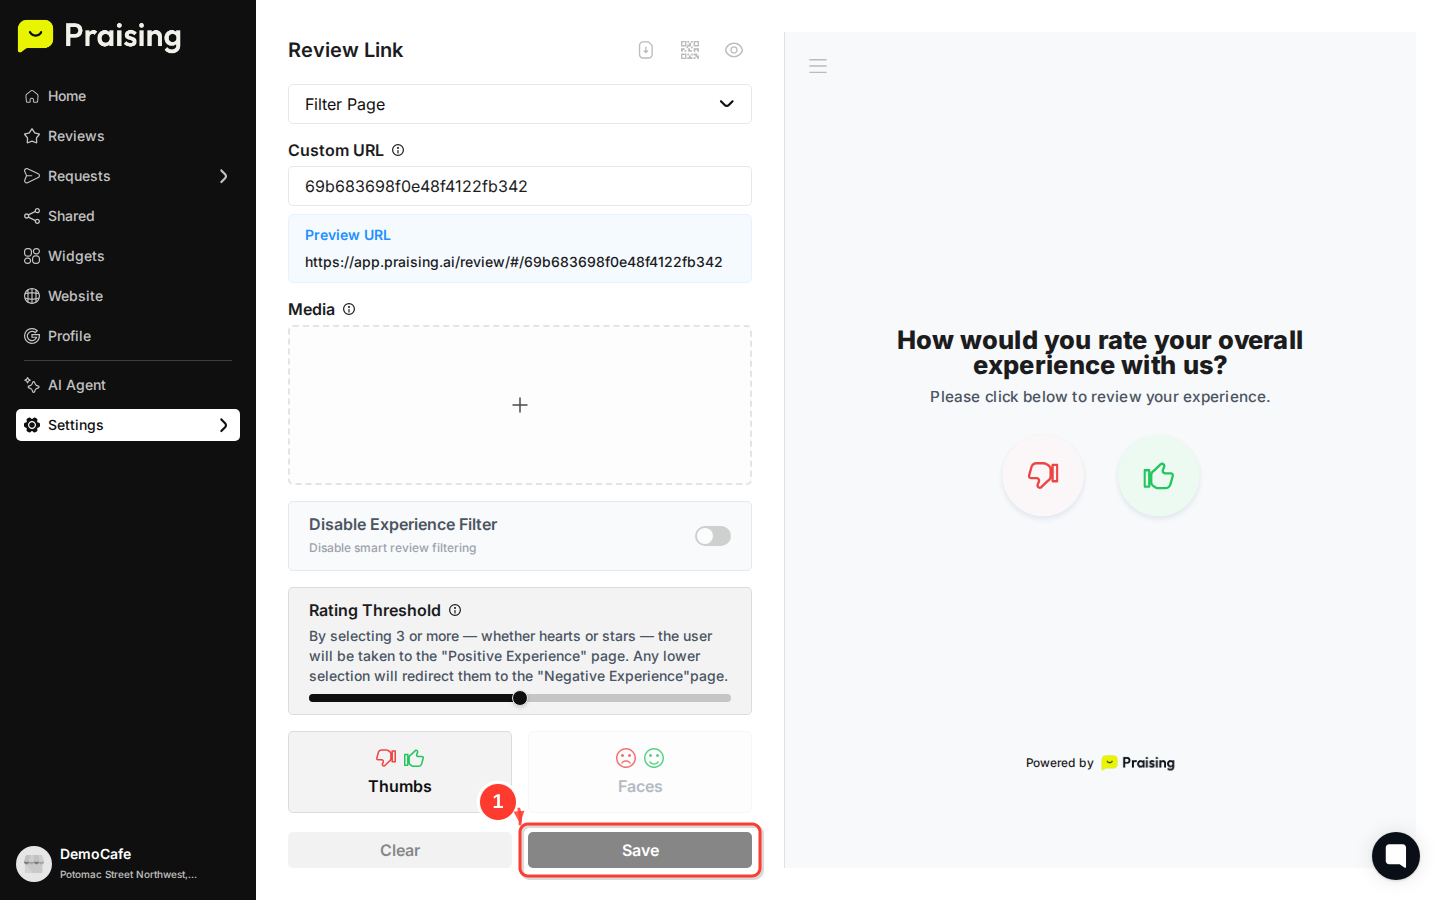
Once you've configured all settings to match your preferences, save your changes to activate the new configuration.
Tip: Test your review link after saving changes by visiting the Preview URL shown in the settings. This ensures your customers will have the experience you intended.
Your settings will take effect immediately, so any new review requests will use your updated configuration. Existing review links will also reflect these changes.
Now that your account is configured, explore these related features:
How to navigate your Praising.ai dashboard - Get familiar with all the tools available in your dashboard
How to create an opt-in page for review collection - Set up automated review collection pages
How to set up auto-campaigns for review requests - Automate your review collection process
