Sending review requests is one of the fastest ways to start building social proof for your business. Praising.ai lets you reach out to customers directly from the Send page, whether you want a quick one-off request or a full campaign. This guide walks you through sending your very first review request in just a few clicks.
---
You have a Praising.ai account set up and are logged in
Your business location (e.g., DemoCafe) is connected to your account
You have at least one customer contact ready to reach out to
---
Navigate to https://app.praising.ai/#/campaigns/send or click Send under the Requests section in the left sidebar. This is your central hub for all outbound review requests, both one-time messages and organized campaigns.
---
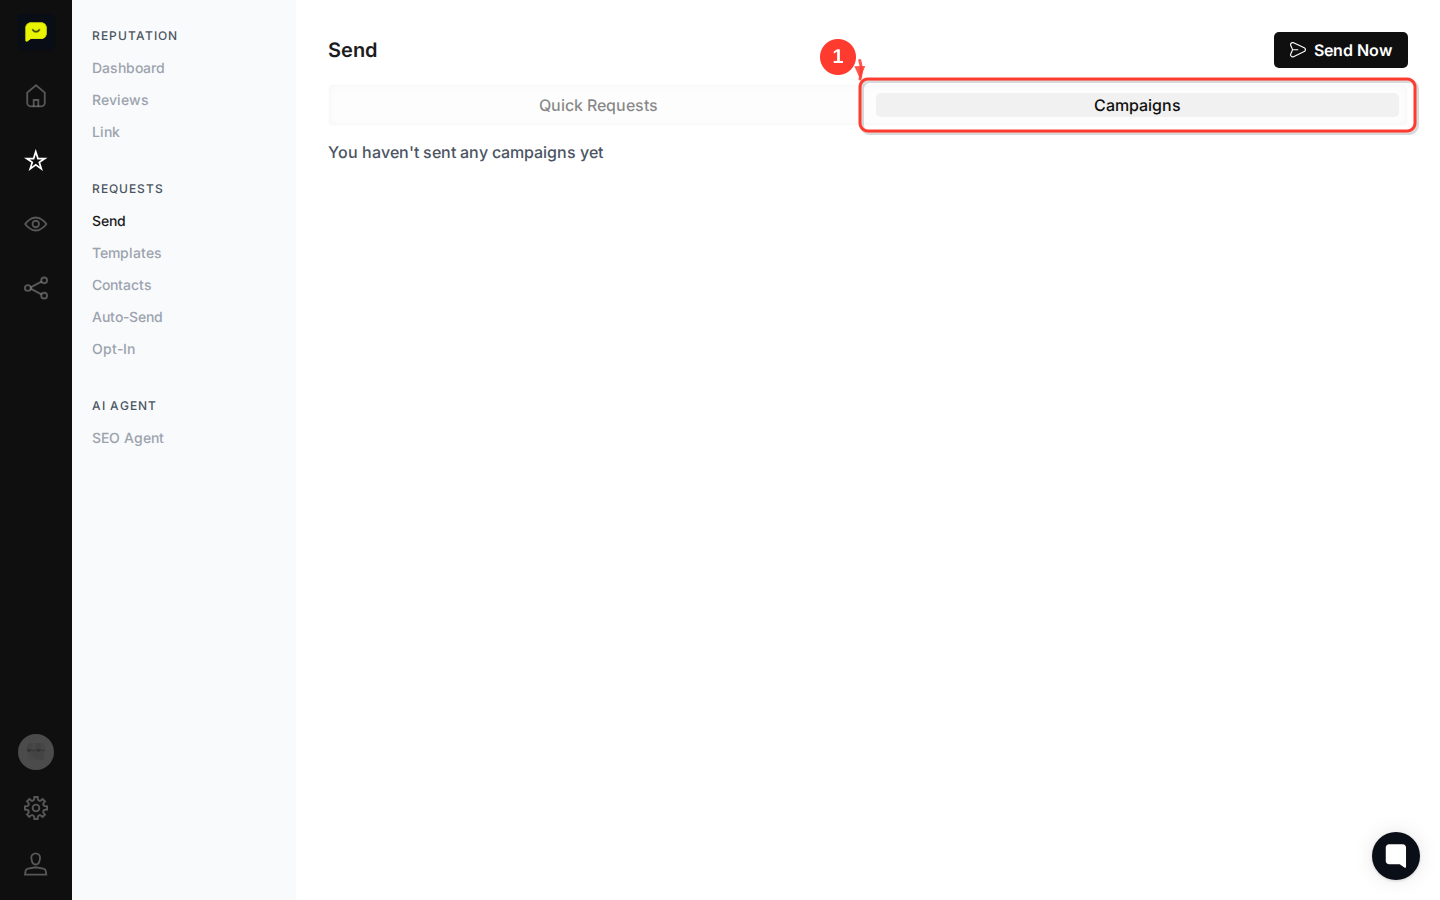
At the top of the Send page, you'll see two tabs: Quick Requests and Campaigns. Knowing the difference helps you pick the right approach:
Quick Requests — Best for sending a review request to one or a small handful of customers immediately, without setting up a full campaign.
Campaigns — Best for larger batches of contacts or recurring outreach with more structure and tracking.
The Quick Requests tab is selected by default, so it's the easiest place to start.
---
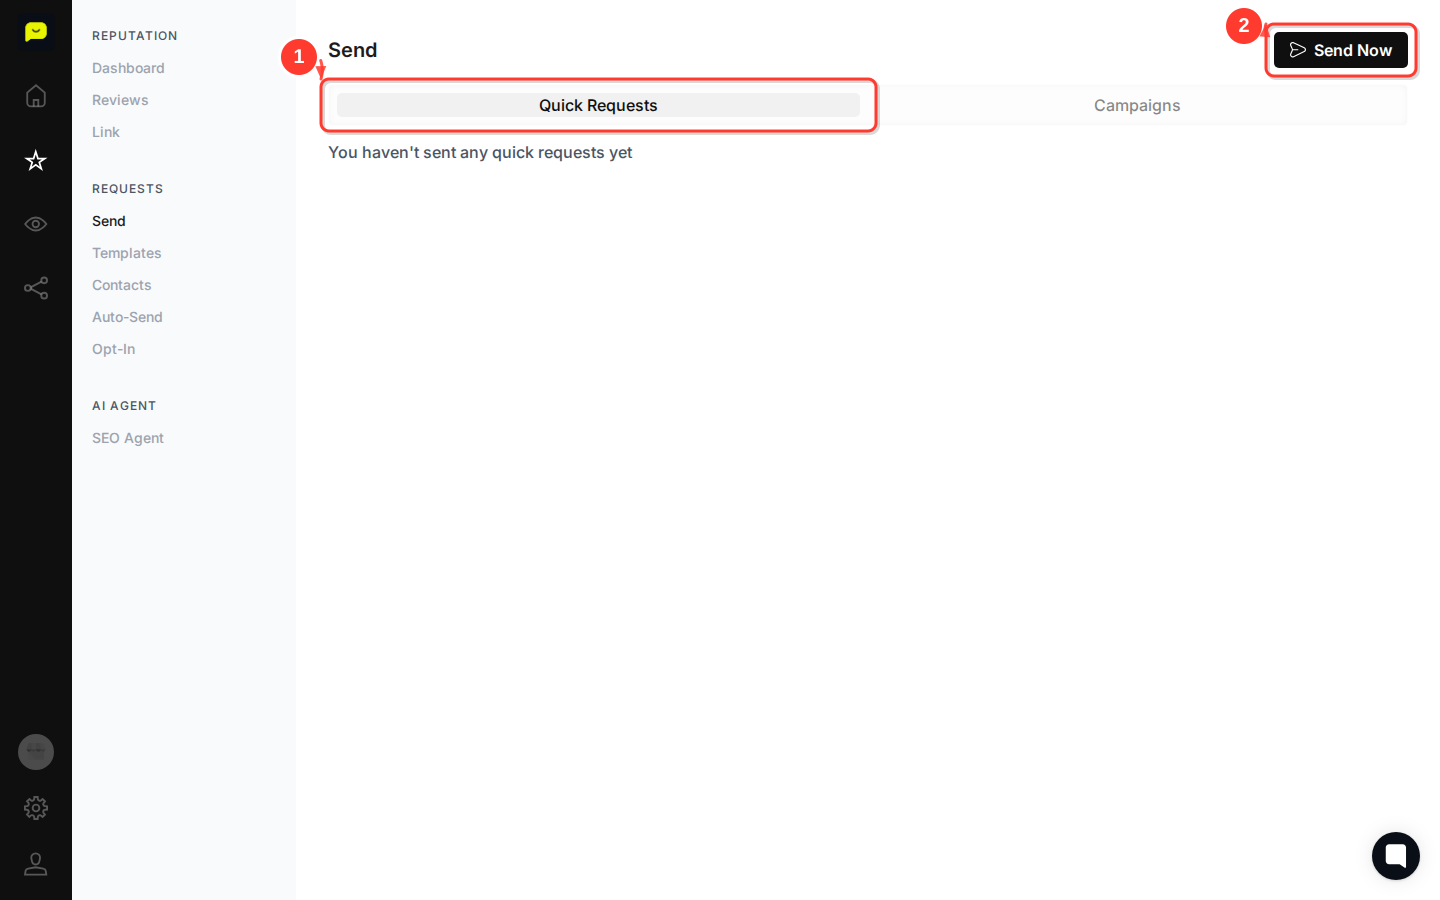
Click the Quick Requests tab to return to the default view. Then click the Send Now button in the top-right area of the page. This opens the request composer where you'll enter your customer's contact details and customize your message before sending.
Tip: The Send Now button is always visible at the top of the Send page regardless of which tab you're on — so you can start a quick request at any time without switching tabs.
---
Inside the request composer, enter your customer's name, email address, and/or phone number. Praising.ai supports both email and SMS review requests, so you can reach customers on whichever channel they're most likely to respond to. Adding a name personalizes the message and tends to improve response rates.
---
Praising.ai will pre-populate a default message template for your review request. You can send it as-is or edit the copy to better match your brand voice. If you've already created templates under the Templates section, you can select one here to keep your messaging consistent.
---
Once you're happy with the contact details and message, hit Send. Your request will be delivered immediately and will appear in the Quick Requests tab history so you can track whether a review comes in as a result.
Tip: After your first few manual sends, consider setting up Auto-Send to automatically request reviews from customers after a visit or transaction — no manual effort required.
---
Now that you've sent your first review request, here are some good next steps to build on it:
How to create a review request campaign — Learn how to send requests at scale using structured campaigns.
How to set up auto-campaigns for review requests — Automate your outreach so no customer interaction goes without a follow-up.
How to create an opt-in page for review collection — Give customers a simple way to leave reviews through a branded opt-in page.
