Managing your account settings lets you keep your profile current, control access, and configure platform-wide preferences. The Settings section in Praising.ai covers your personal details, billing information, and the language Translate turns reviews into.
Navigate to your account profile and preferences from the left-hand navigation.
Open Settings – In the left-hand navigation, click Settings. A sub-menu expands beneath it.
Select Account – In the Settings sub-menu, click Account under the Business Settings group. The Account page loads at /dashboard/settings/account.
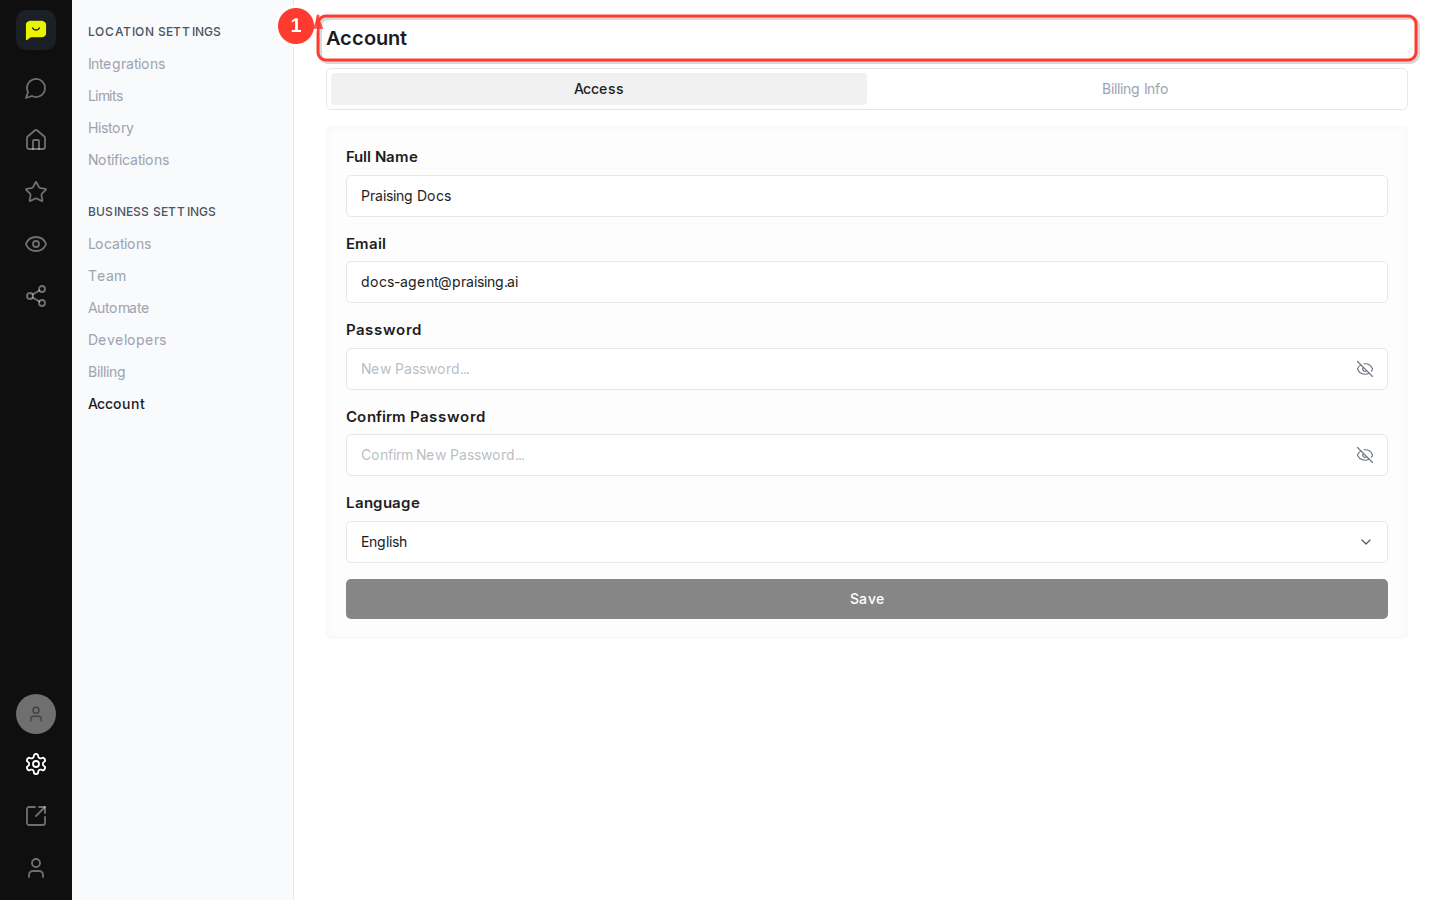
The Account page opens on the Access tab by default, where you can update your name, password and language. Your email address is shown there but can't be changed.
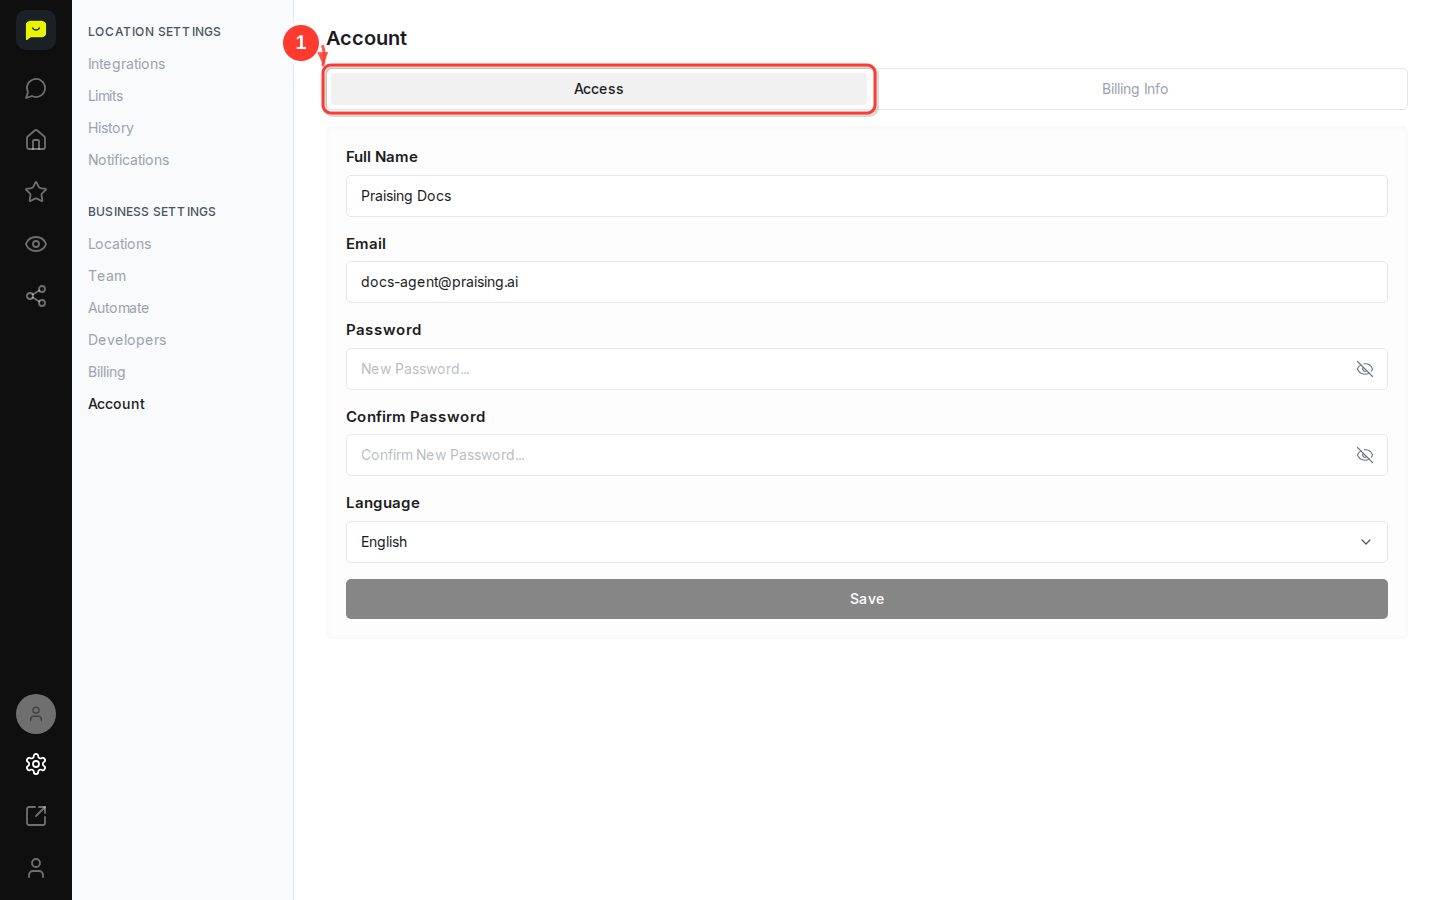
Confirm you are on the Access tab – At the top of the Account page you will see two tabs: Access and Billing Info. Make sure Access is selected.
Update your full name – Click into the Full Name field and type your updated name.
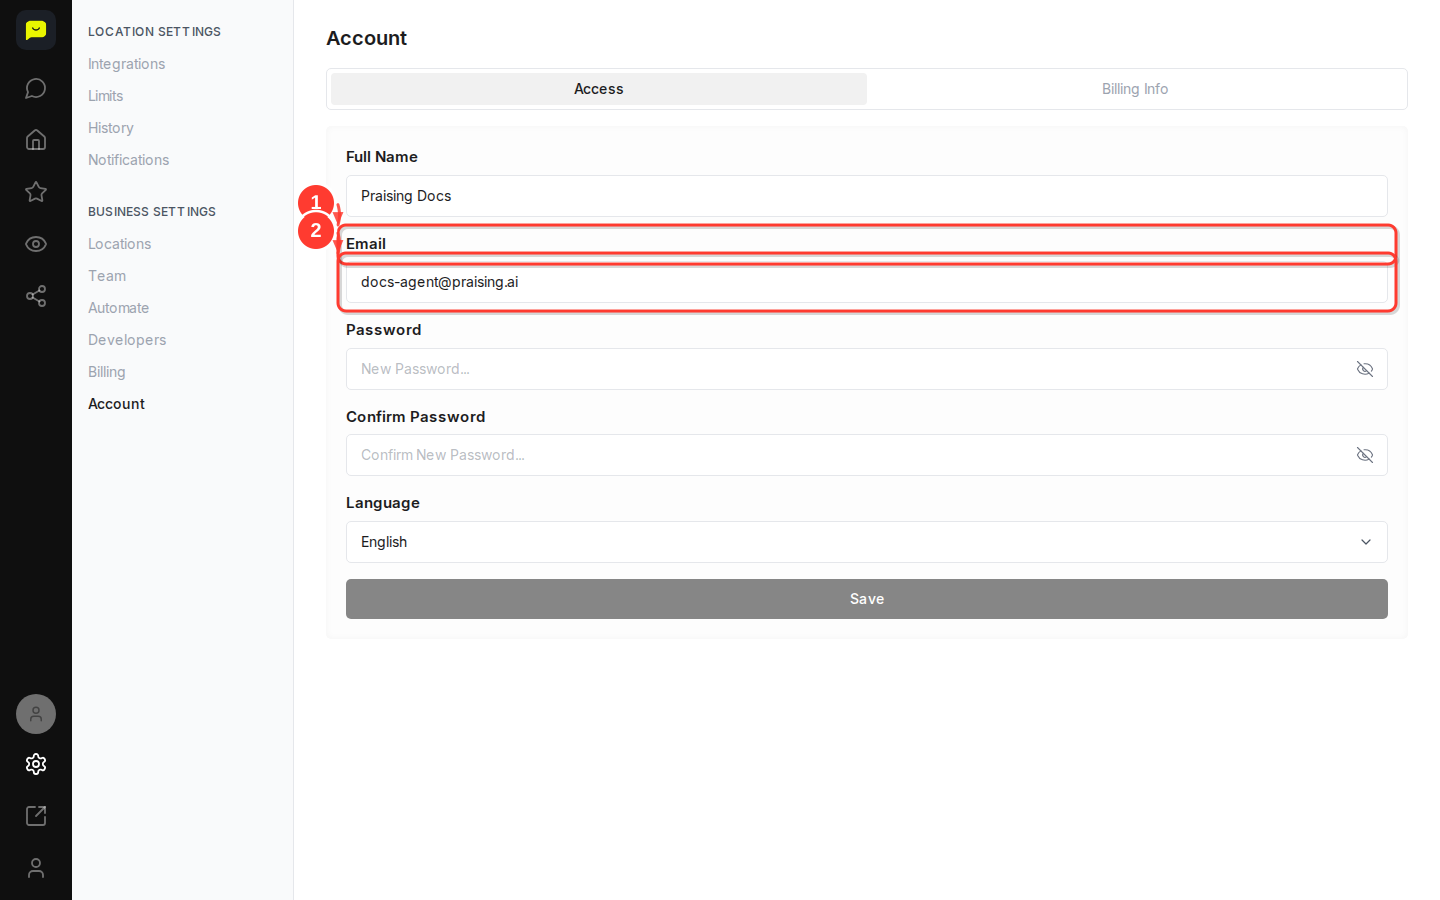
Update your full name: Click into the Full Name field and type your updated name.
Check your email address: The Email field shows the address you sign in with. It can't be changed here.
Change your password – Enter a new password in the New Password field, then re-enter it in the Confirm New Password field. Use the Show password toggle on either field to check what you typed.
Change your password: Enter a new password in the Password field, re-enter it in the Confirm Password field, then type your Current Password when that field appears. Use the Show password toggle on any field to check what you typed. If you sign in with Google, click Email me a link to set a password instead.
Set your preferred language: Click the Language dropdown and choose a language. It sets the language Translate turns reviews and reply drafts into (paid plans); the dashboard itself stays in English. Languages marked Coming soon can't be picked yet.
Save your changes: Click the Save button at the bottom of the form to apply your updates.
Save your changes – Click the Save button at the bottom of the form to apply your updates.
Switch to the Billing Info tab: Click Billing Info at the top of the Account page to fill in your invoice details: a contact email, whether you're a business, your legal name, tax ID and address. Your plan and payment method are under Settings → Billing.
The Settings sub-menu is divided into two groups:
Location Settings: Integrations and History show the location picked in the location switcher, while Limits and Notifications cover your whole business:
Integrations: Connect Google and Trustpilot, and link your other review sites.
Limits: See how much of this month's email, text and AI allowance you've used.
History: Review your outreach history.
Notifications: Configure email and in-app alerts.
Business Settings — applies across your entire account:
Locations: Add or manage business locations.
Team: Invite teammates and manage their roles.
Automate (paid plans): Find your API key and Business ID, with links to the API docs.
Developers (paid plans): Access API keys and developer tools.
Billing: Manage your plan and payment method.
Account: Update your personal profile (you are here).

Once your account details are current, explore the rest of the Settings section to connect your review platforms under Integrations or invite colleagues under Team. To send review requests automatically, use Reputation → Auto-Send. You can also check the Reputation section, including Dashboard, Analytics (paid plans), and Reviews, to see how your review collection is performing.
Open settings →