
Review request campaigns let you collect feedback from customers by sending automated or scheduled requests. Unlike quick requests, which go out immediately, campaigns give you control over timing, audience, and messaging.
Prerequisites
An active Praising.ai Pro account
Customer contact information (email addresses or phone numbers)
Your business profile properly configured
Steps
Navigate to Send
In the left-hand navigation, click Reputation to expand that section, then click Send under the Requests group. This opens the Send page, where you can manage Quick Requests and Campaigns.
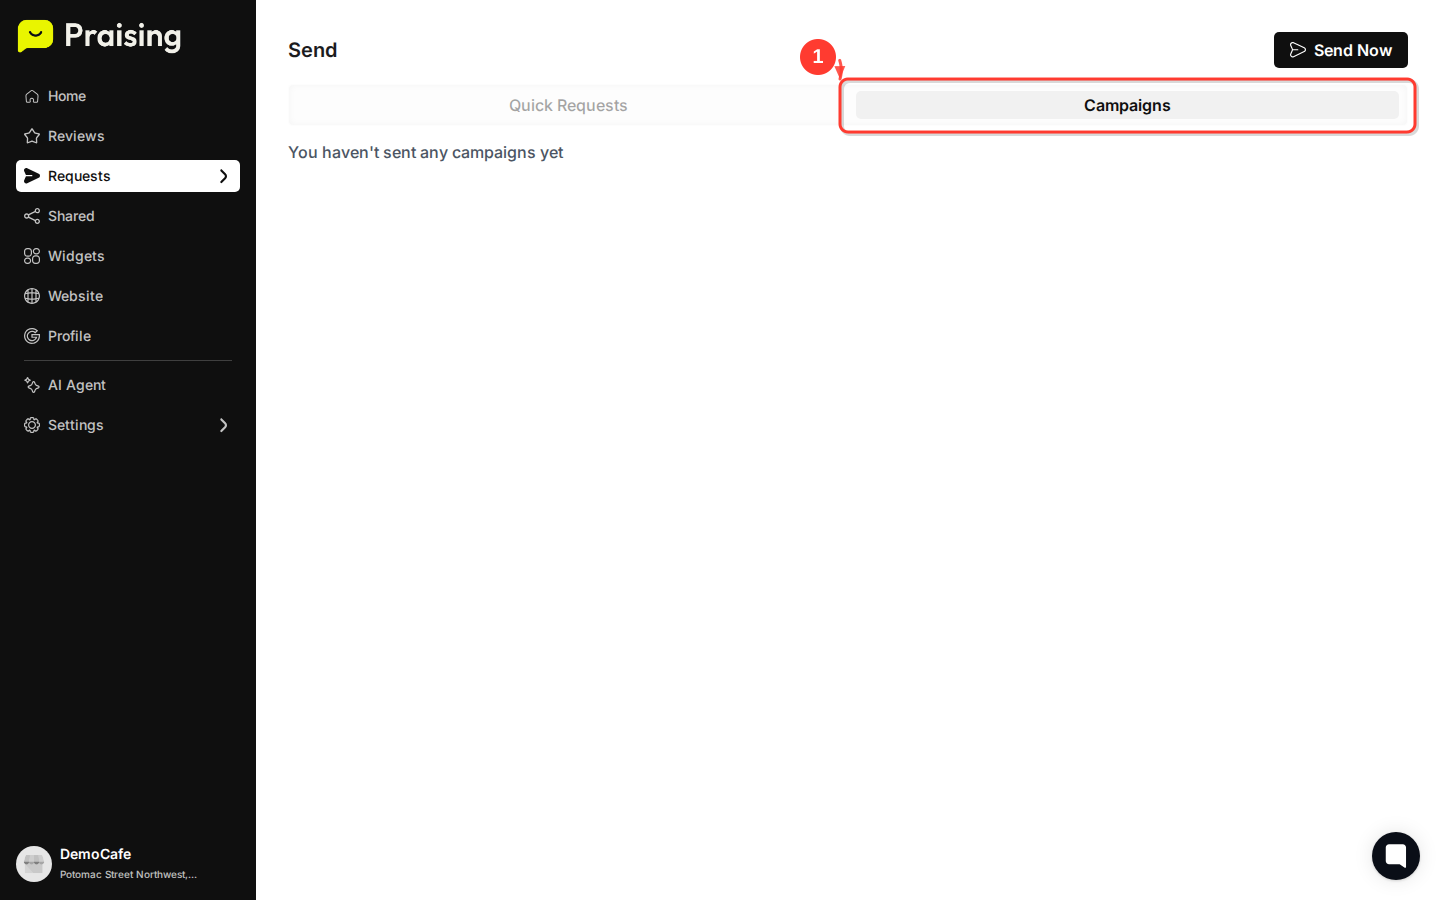
Switch to the Campaigns tab
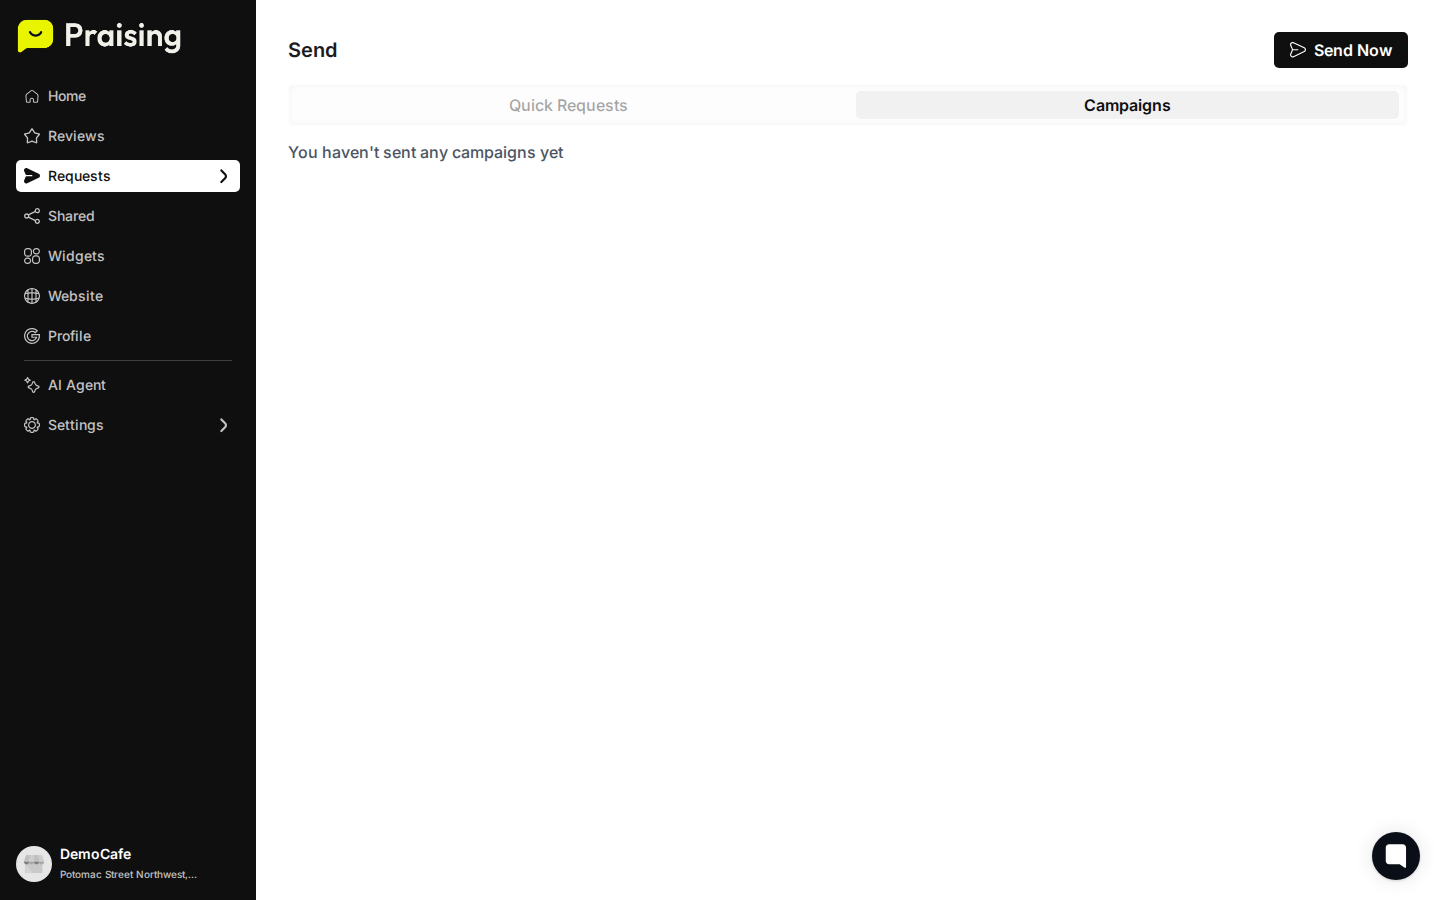
At the top of the Send page, click the Campaigns button to move from the Quick Requests view to campaign management.

Create a new campaign
Click the Send Now button or the + button to open the campaign creation wizard.
Configure campaign settings
Enter your campaign name, select your target audience, and choose when requests should go out. Your options include immediate sending, scheduled delivery, or trigger-based automation.
Customize your message template
Write the review request message your customers will receive. Include your business name, a friendly greeting, and clear instructions for leaving a review. You can also browse pre-built options under Templates in the left-hand navigation.
Select review platforms
Choose which platforms to direct customers to — Google, Facebook, Yelp, or others. You can offer multiple options and let customers pick, or send them straight to one specific platform.
Upload your contact list
Add the customers you want to reach by uploading a CSV file or entering contact information manually. You can also pull from saved contacts by clicking Contacts in the left-hand navigation under the Requests group.
Review and launch your campaign
Check your settings, preview how the message will look to recipients, and activate the campaign. If you want to make changes first, save it as a draft and come back to it.

Monitor campaign performance
Once your campaign is active, go back to Send and click the Campaigns tab to track delivery rates, response rates, and reviews generated. Use that data to refine future campaigns and spot your most engaged customers.
What's Next?
How to set up auto-campaigns for review requests - Automate your review collection process via Auto-Send in the Reputation section
How to use campaign templates - Save time with pre-built campaign formats found under Templates
How to manage your contacts list - Organize and segment your customer database using Contacts and Segments