Auto-Send automatically sends your chosen review request template to newly added contacts after a delay you set. You can base the timing on when a contact was added to your system or on their actual service date.
Enable the Auto-Send feature
Go to Reputation → Auto-Send in the left-hand navigation. Toggle on the Enable Auto-Send switch to activate it for your account.
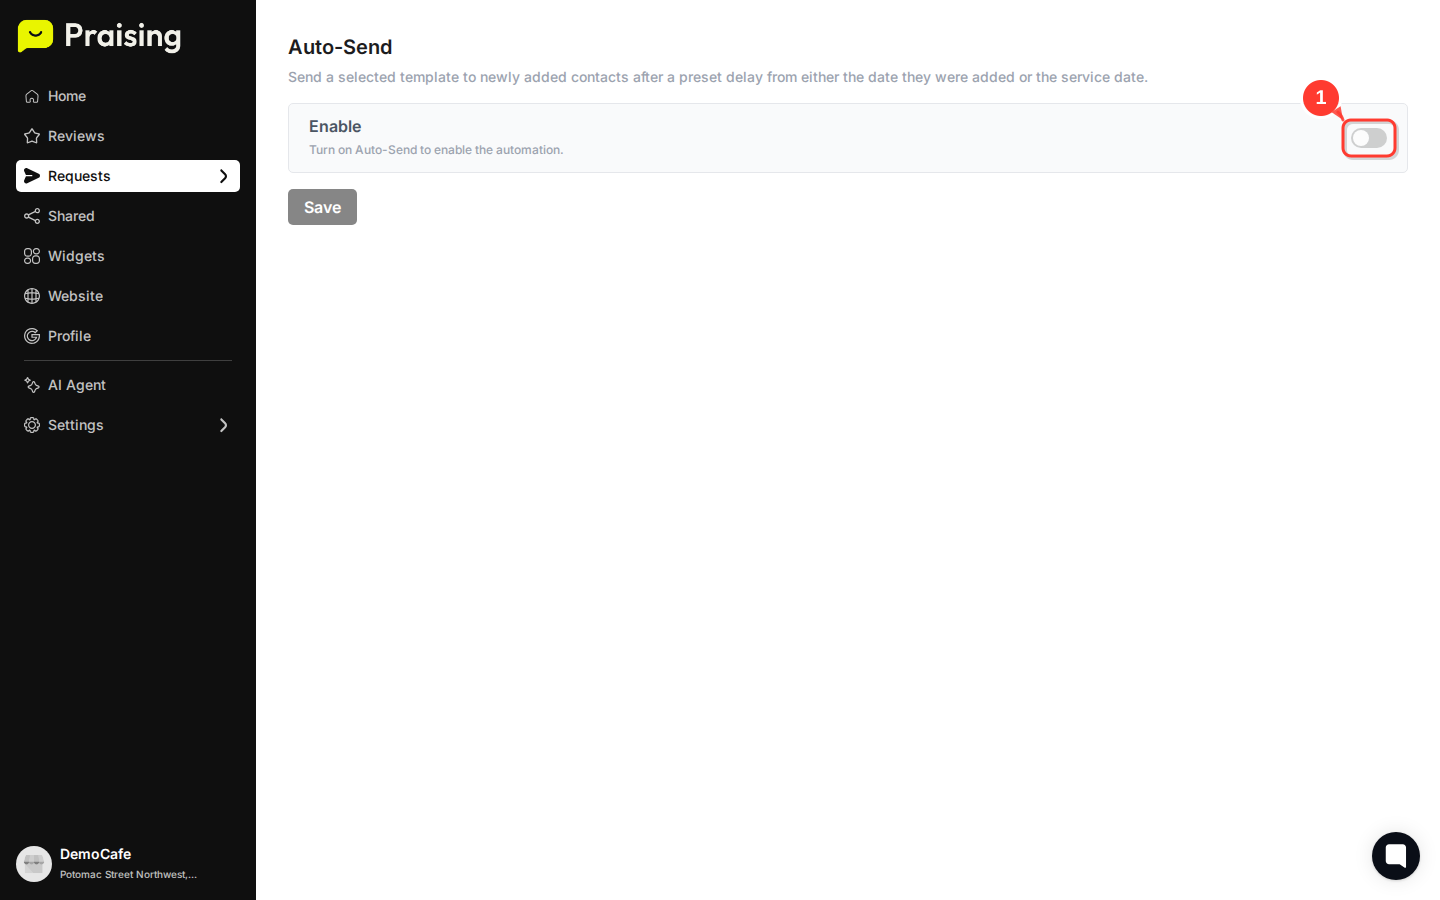
Configure your delay settings
Once enabled, set when Auto-Send should trigger. You can send requests based on either the date the contact was added or the service date, whichever fits your workflow better.
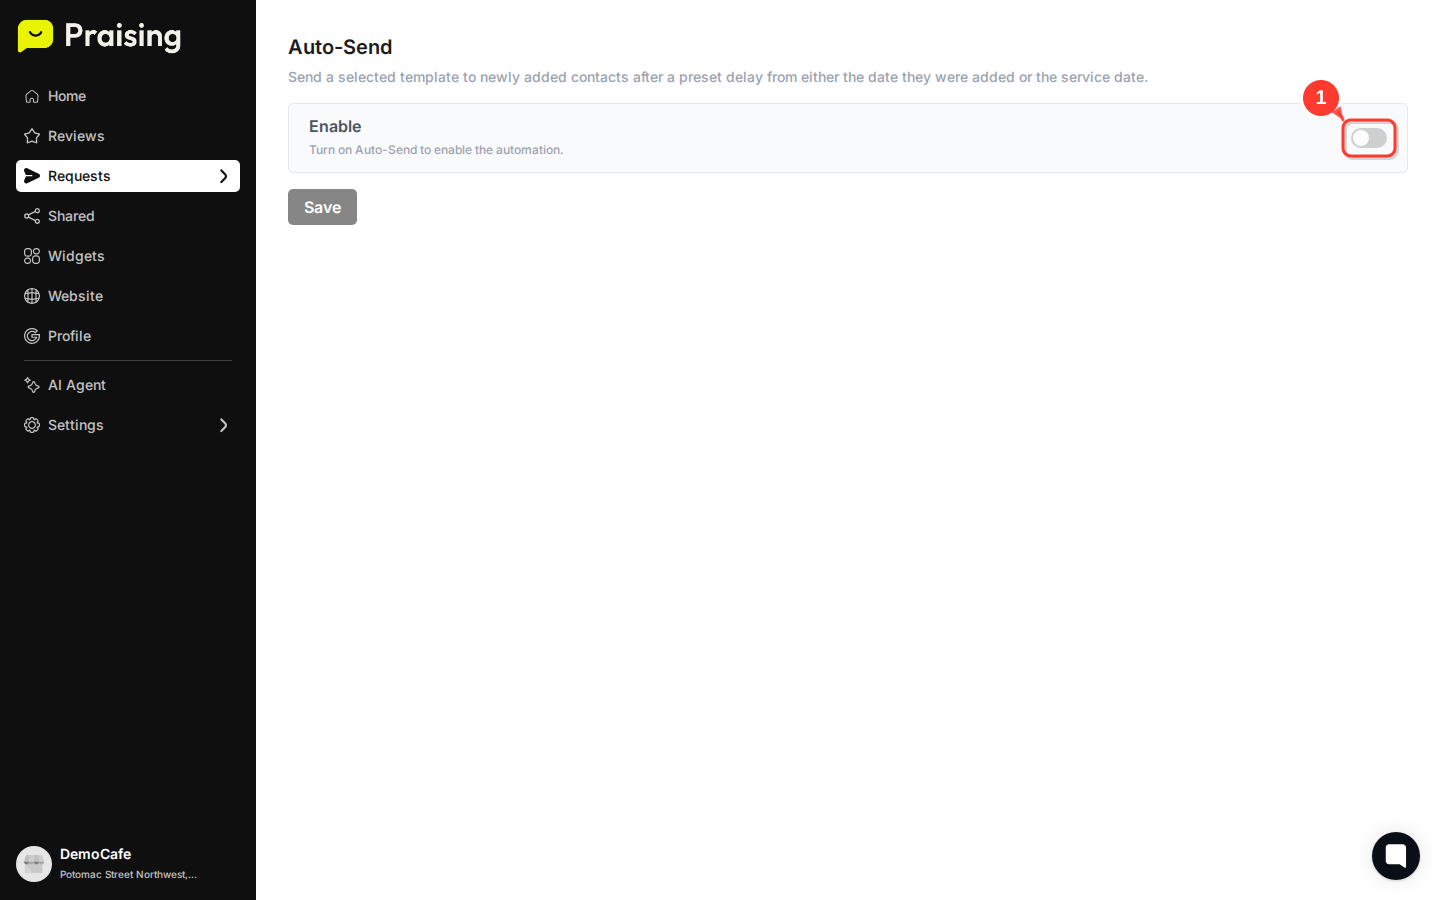
Select your review request template
Pick which template Auto-Send will use from your saved templates. This keeps your messaging consistent across all automated requests.
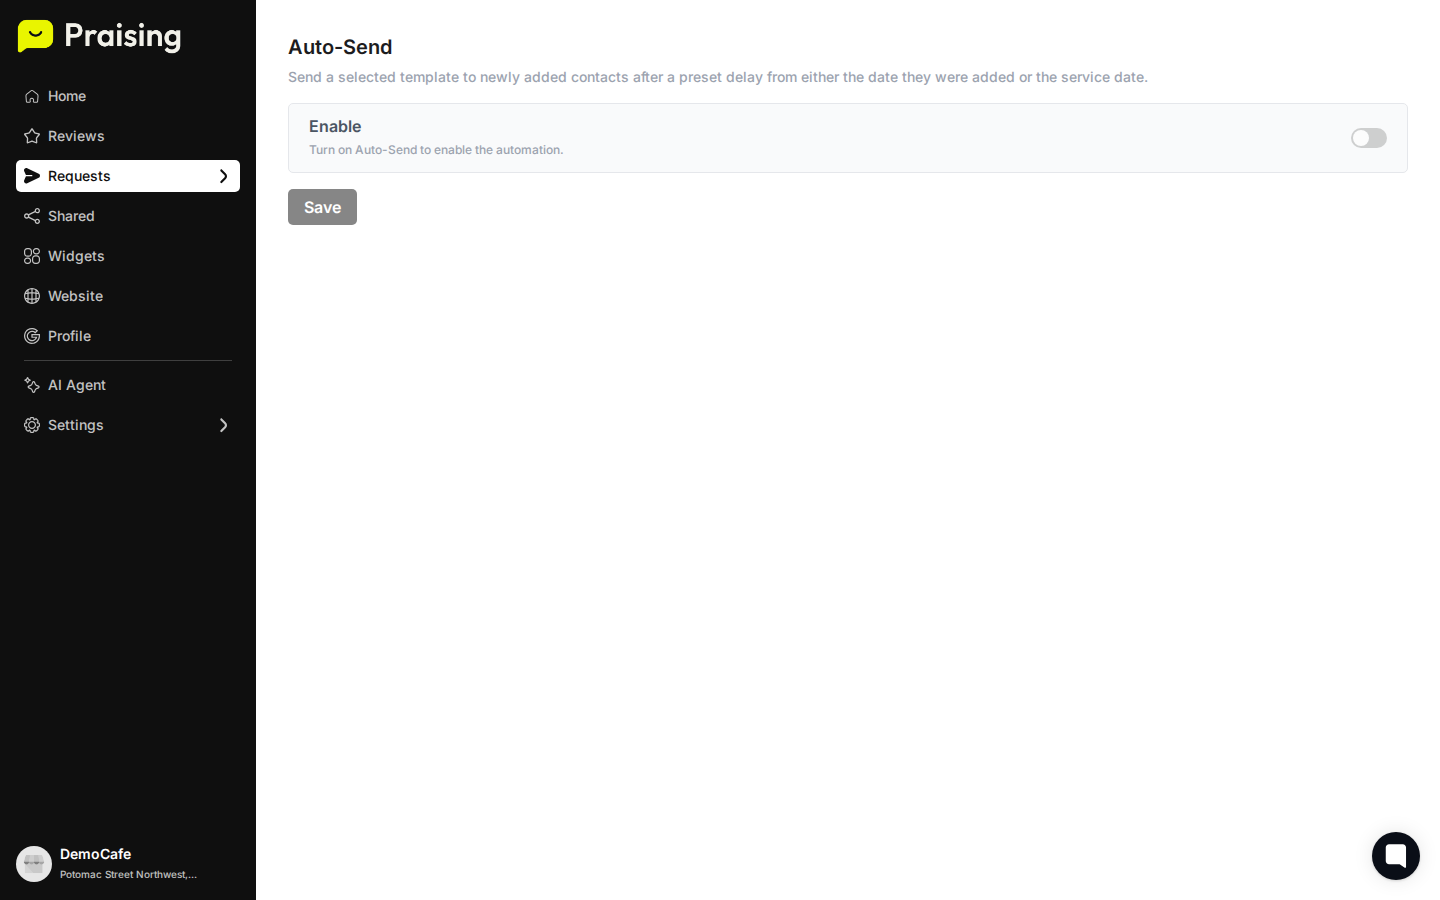
Set your target timing
Enter the number of days for the delay. Most businesses find 1–3 days after service completion works well. Customers still remember the experience, but it hasn't faded yet.
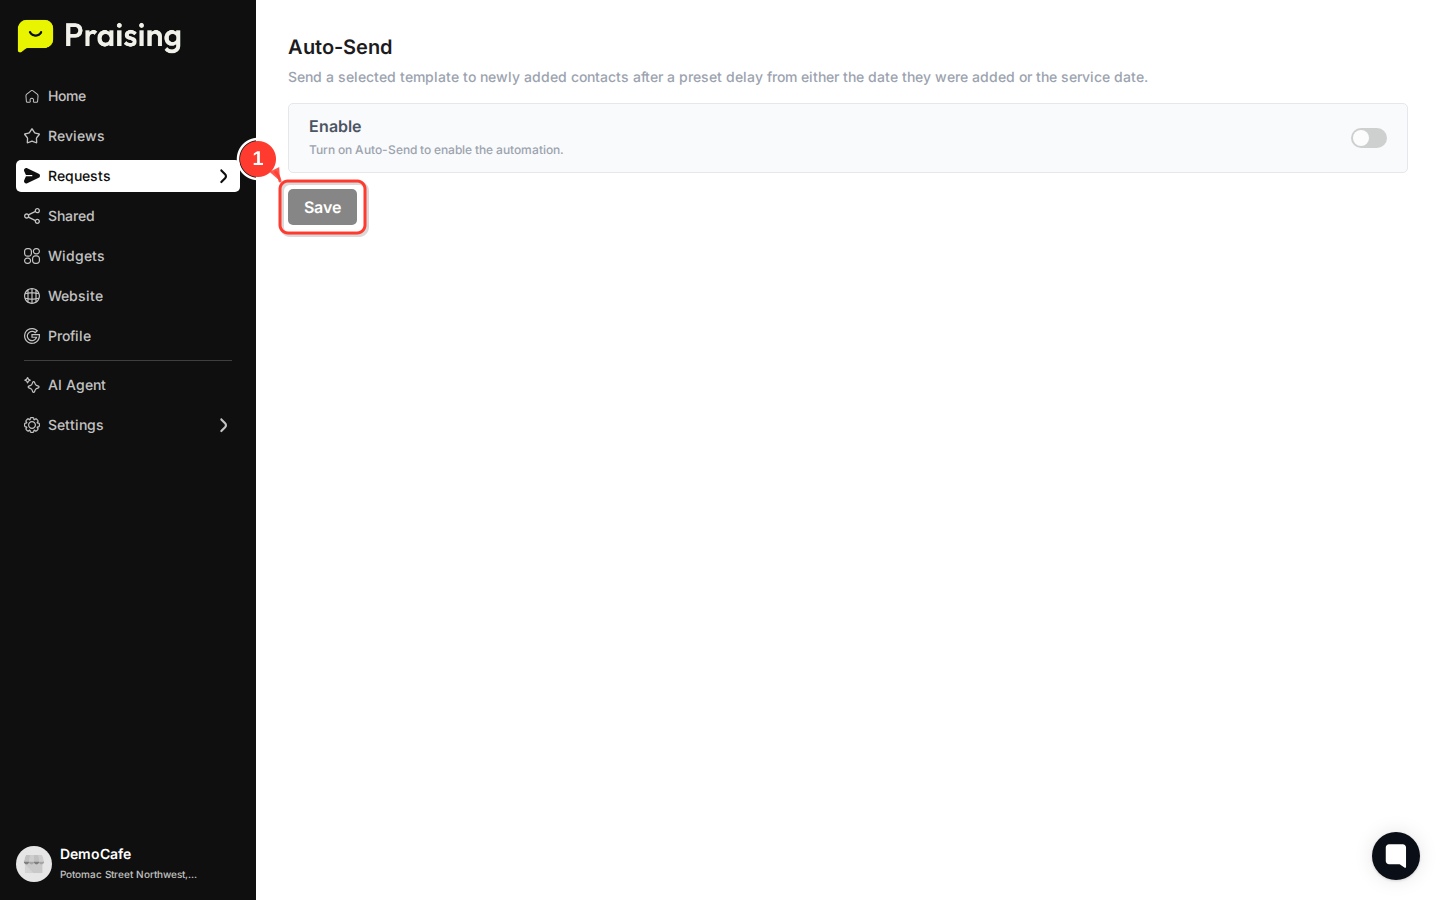
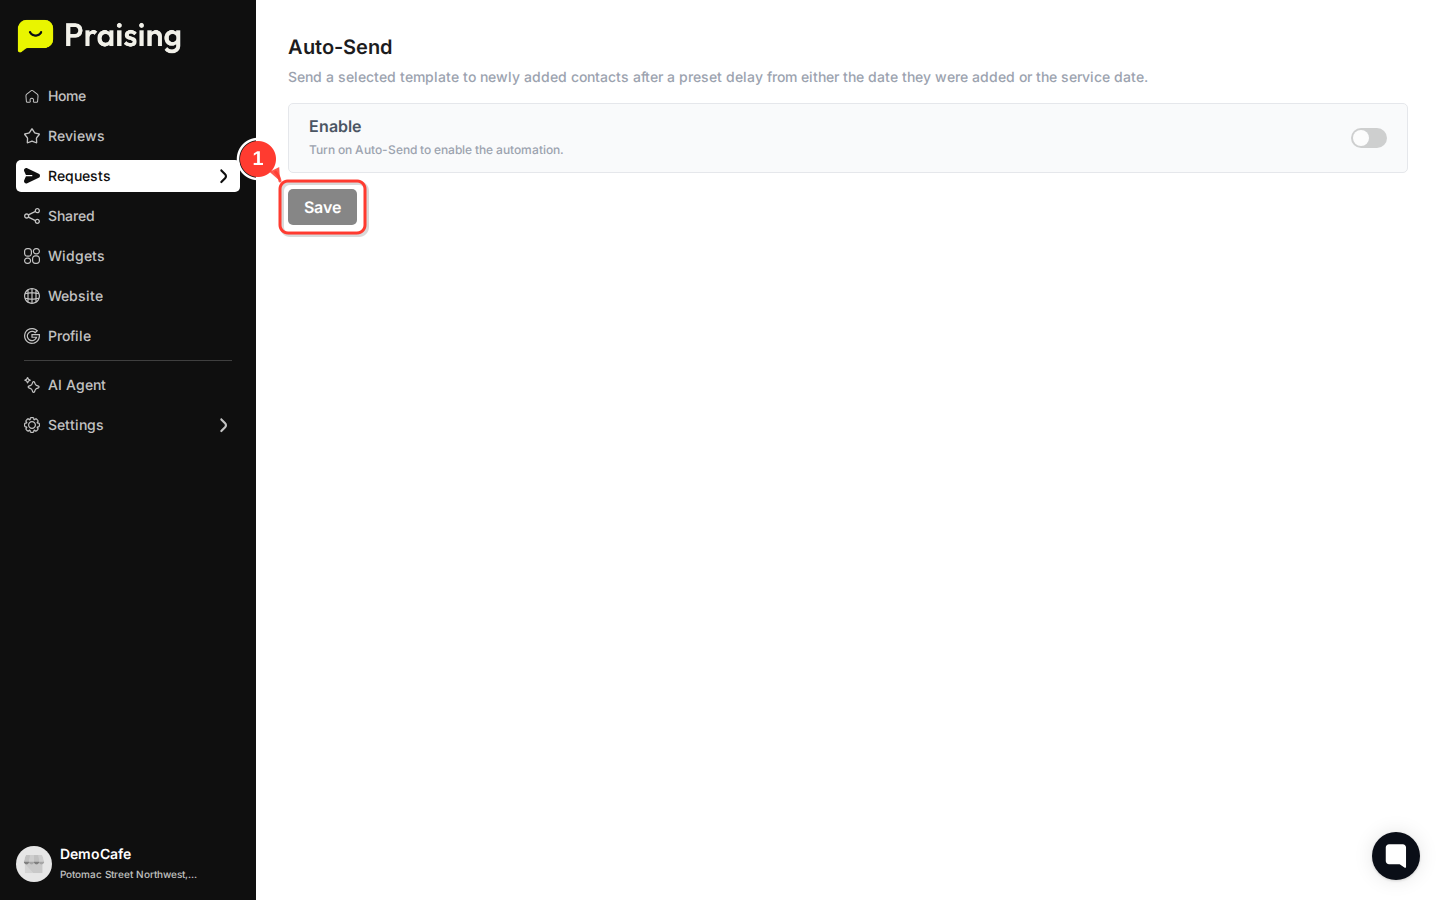
Save your configuration
Click Save to activate your settings. Auto-Send will now send review requests to new contacts based on the timing you configured.

Review automation status
Check the automation dashboard to see which contacts have been processed and when requests went out. This helps you tell whether your timing settings are working.
Auto-Send is now active and will handle review requests for all newly added contacts going forward. Requests go out in the background while you focus on delivering good service.
Monitor your results: Check Reputation → Dashboard regularly to see how Auto-Send affects your review volume
Optimize your templates: Head to Reputation → Templates to test different message styles and see what resonates with your customers
Adjust timing: Fine-tune your delay settings in Reputation → Auto-Send based on response rates and customer feedback
Set up manual requests: Use Reputation → Send for cases that need immediate attention
