
Automatically sharing your positive reviews on social media helps build your reputation and reach more potential customers. Praising.ai's Social Agent does this by turning your best reviews into ready-to-post content for your connected social platforms.
Prerequisites
Before setting up auto-posting, you'll need:
An active social media account (Facebook or Instagram)
Admin access to your social media pages
A Praising.ai Pro account with posting permissions
Steps to Set Up Auto-Posting
Access the Social Agent
In the left-hand navigation, open Engagement and click Social Agent. This takes you to /dashboard/engagement/social-agent, where the Social Agent picks reviews that reflect well on your business and writes each caption in the tone, length, and language you set.
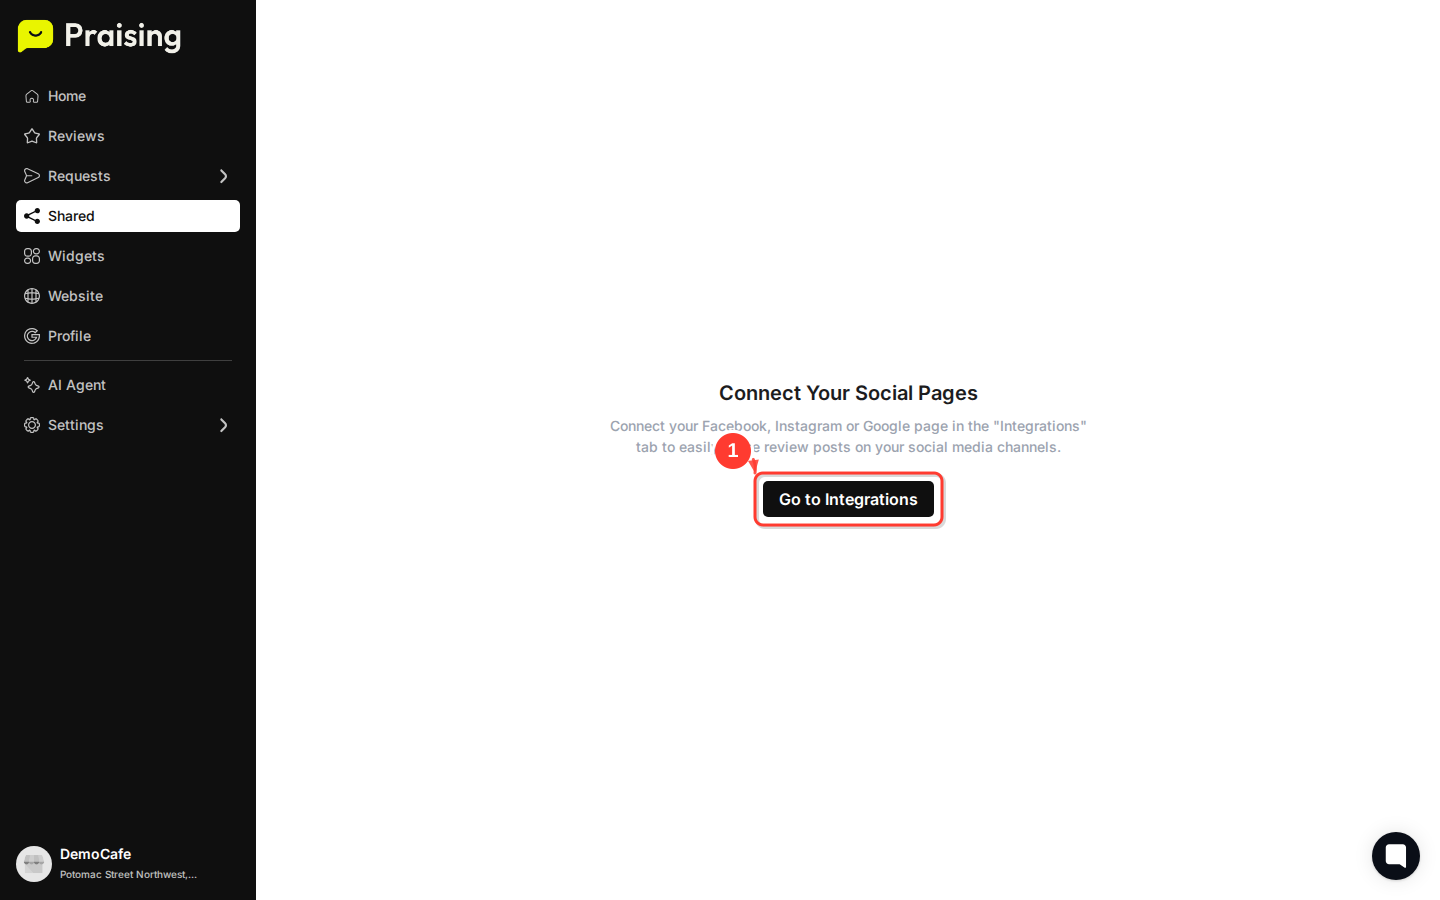
Navigate to the Integrations page
Click the setup tab near the top of the Social Agent page, then follow the prompt to connect your social accounts. Link your Facebook Page or Instagram account by clicking the relevant connection button and authorizing Praising.ai to post on your behalf. You can revoke this authorization at any time.

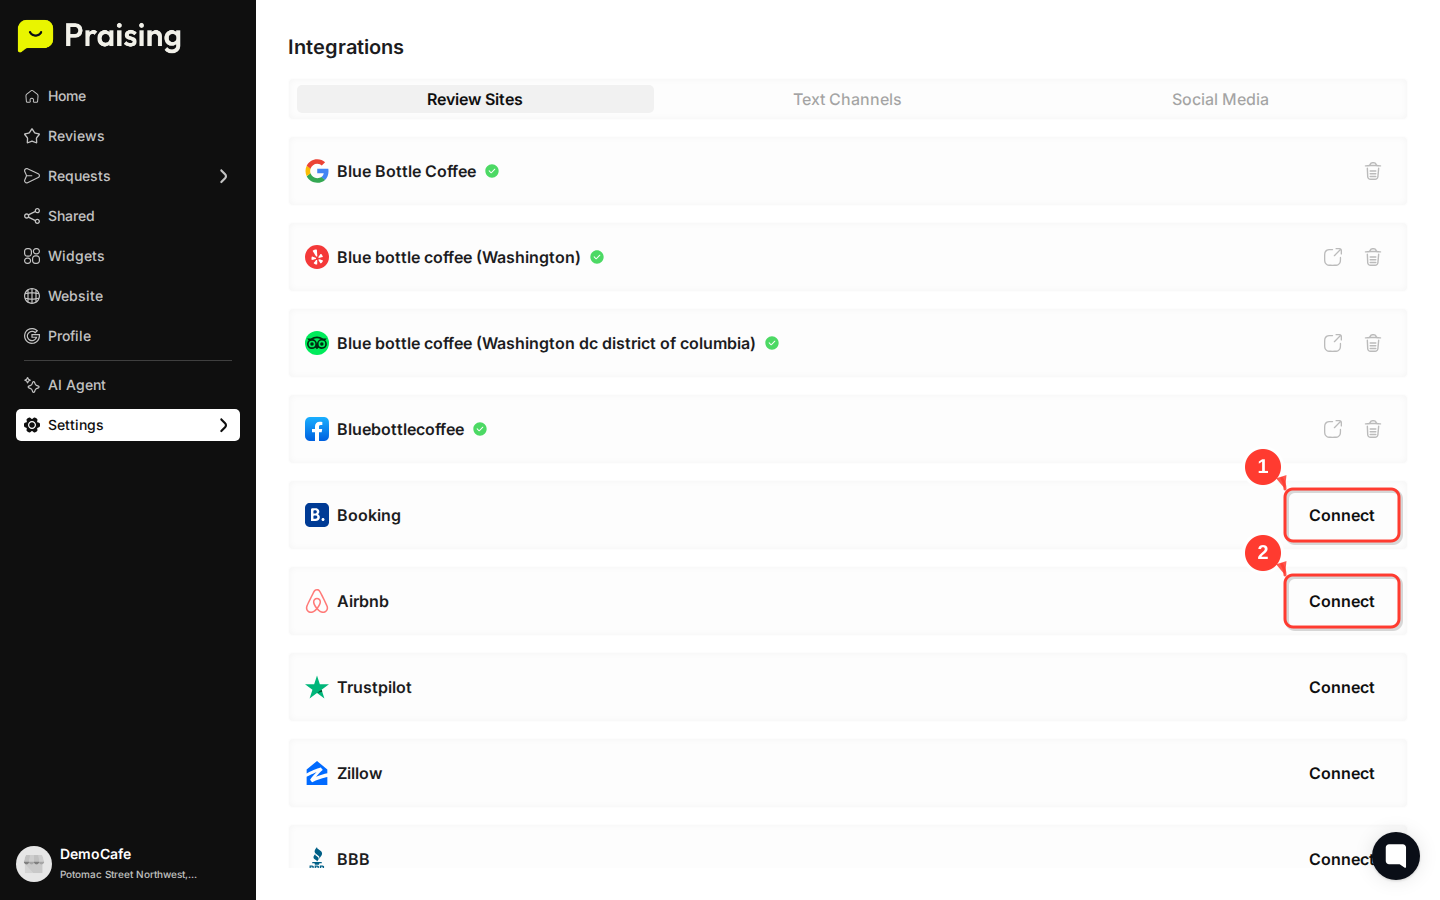
Connect your social media accounts
Choose which platforms you want to connect. You'll be asked to log in and authorize Praising.ai to post on your behalf. Once connected, your account will show as active in the setup tab.
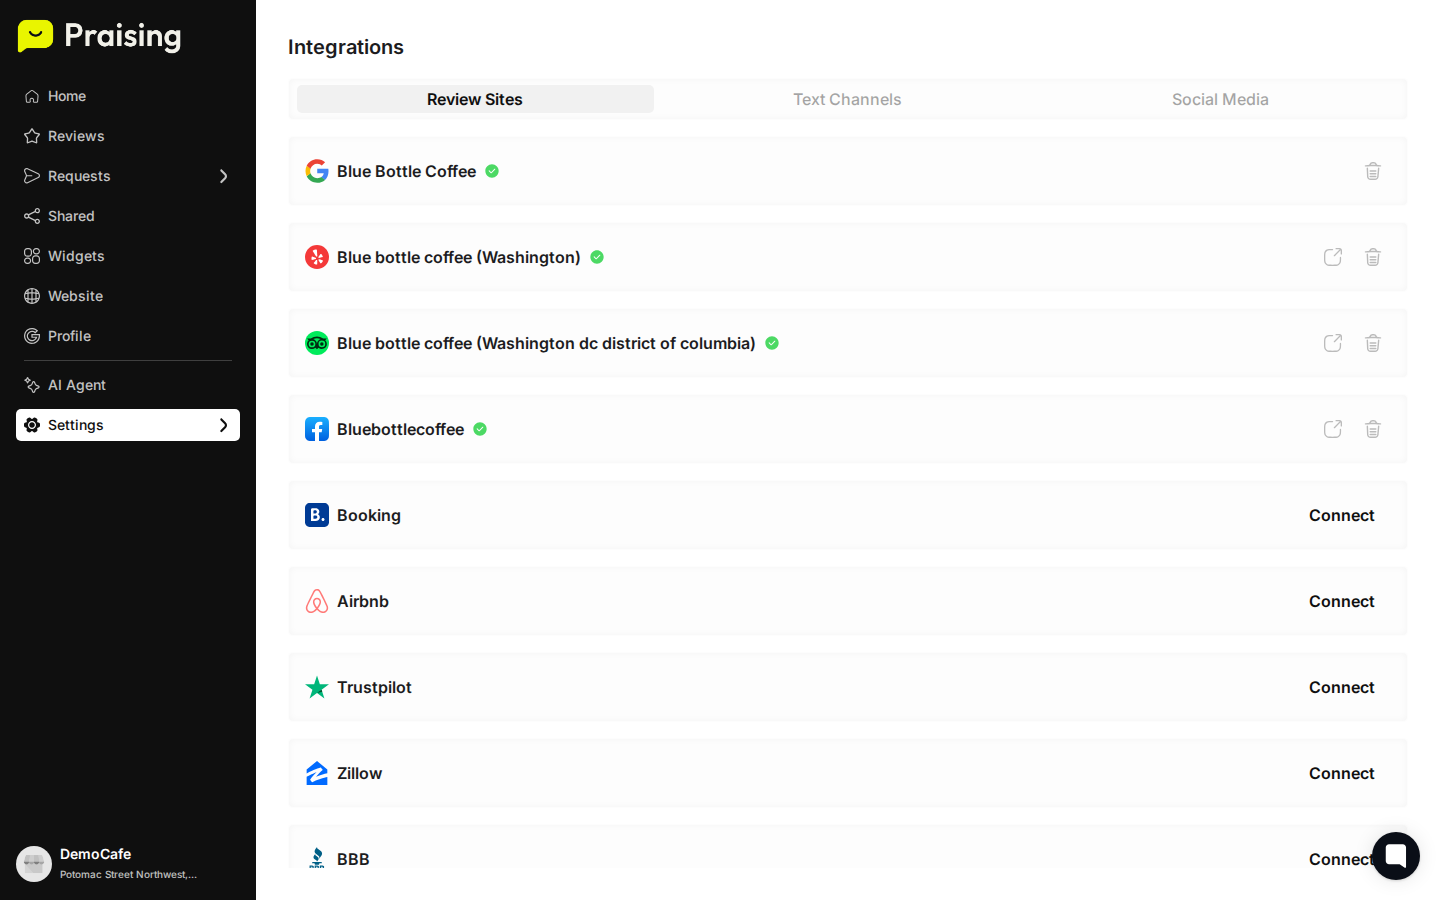
Configure your posting settings
Still on the setup tab, set your caption tone, length, and language so each generated post fits your brand voice.
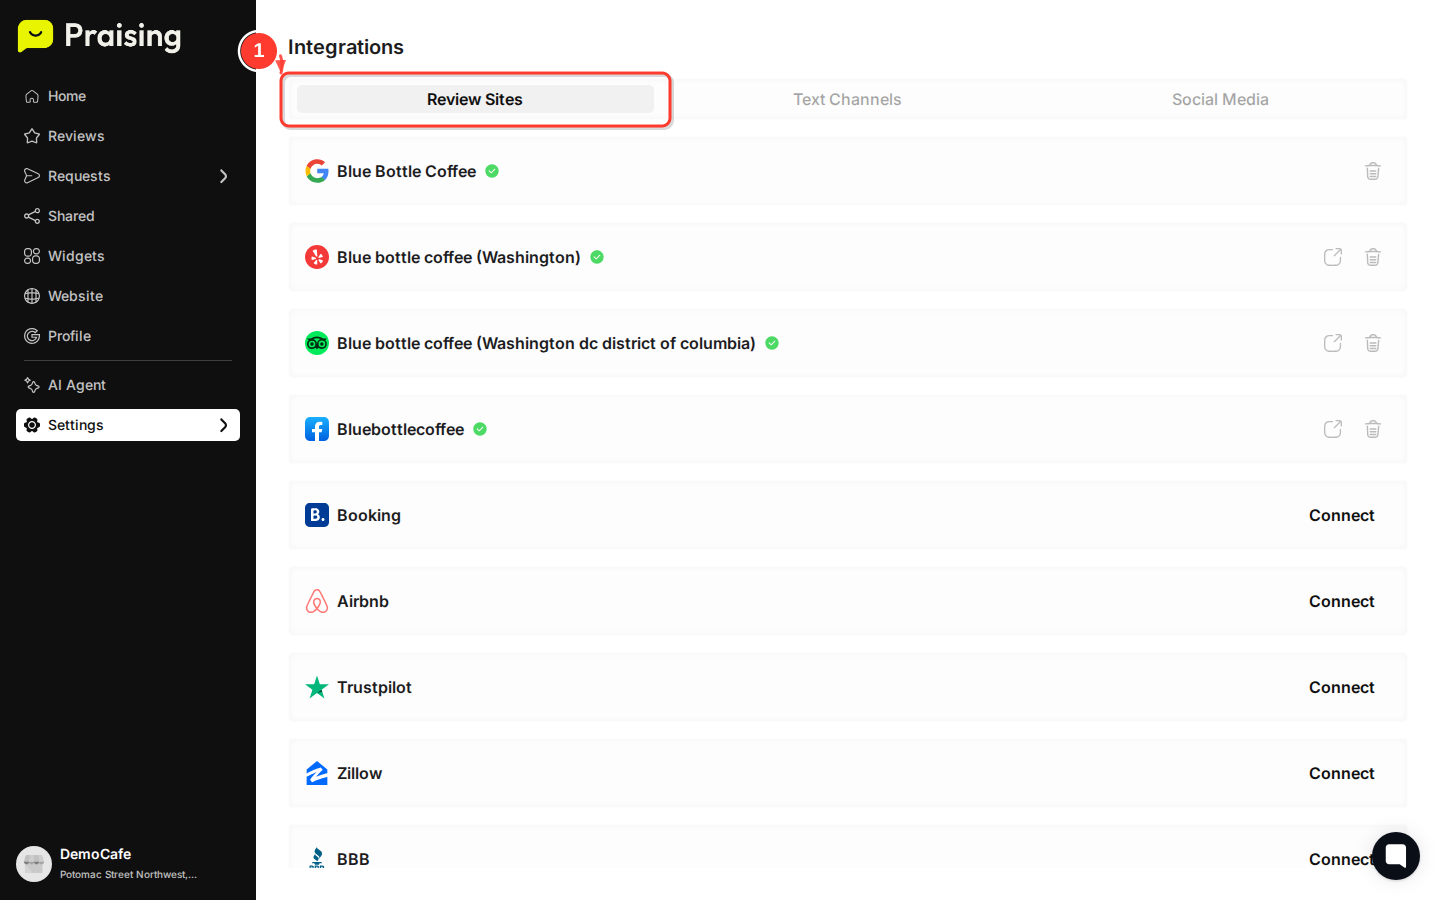
Enable auto-posting for your preferred platforms
Toggle on auto-posting for each connected platform. Facebook and Instagram can have different settings, so you can tailor each one to suit the platform and your audience.

Set your posting schedule and filters
Configure when and how often reviews are posted. You can set a minimum star rating, exclude certain review types, and define posting intervals to keep your frequency manageable.

What's Next?
Once auto-posting is configured, your positive reviews will appear on your social media channels automatically based on your settings. To see what's already been shared, click the feed tab on the Social Agent page. Each post shows its caption, date, and status (such as Shared). You can also copy any generated post to use elsewhere by clicking the Copy button on that post.
Keep an eye on your social media analytics to see how review posts perform, then adjust your settings from there. You can return to Engagement → Social Agent at any time to update your preferences, connect additional accounts, or turn off auto-posting for a specific platform.
It's also worth thinking about how automated review posts fit alongside your other social content. A mix of both tends to keep your feed more interesting for followers.
Open Engagement →