Auto-campaigns automatically send review request templates to newly added contacts after a preset delay, helping you maintain consistent review collection without manual effort. This feature ensures no customer falls through the cracks while saving you valuable time on routine follow-ups.
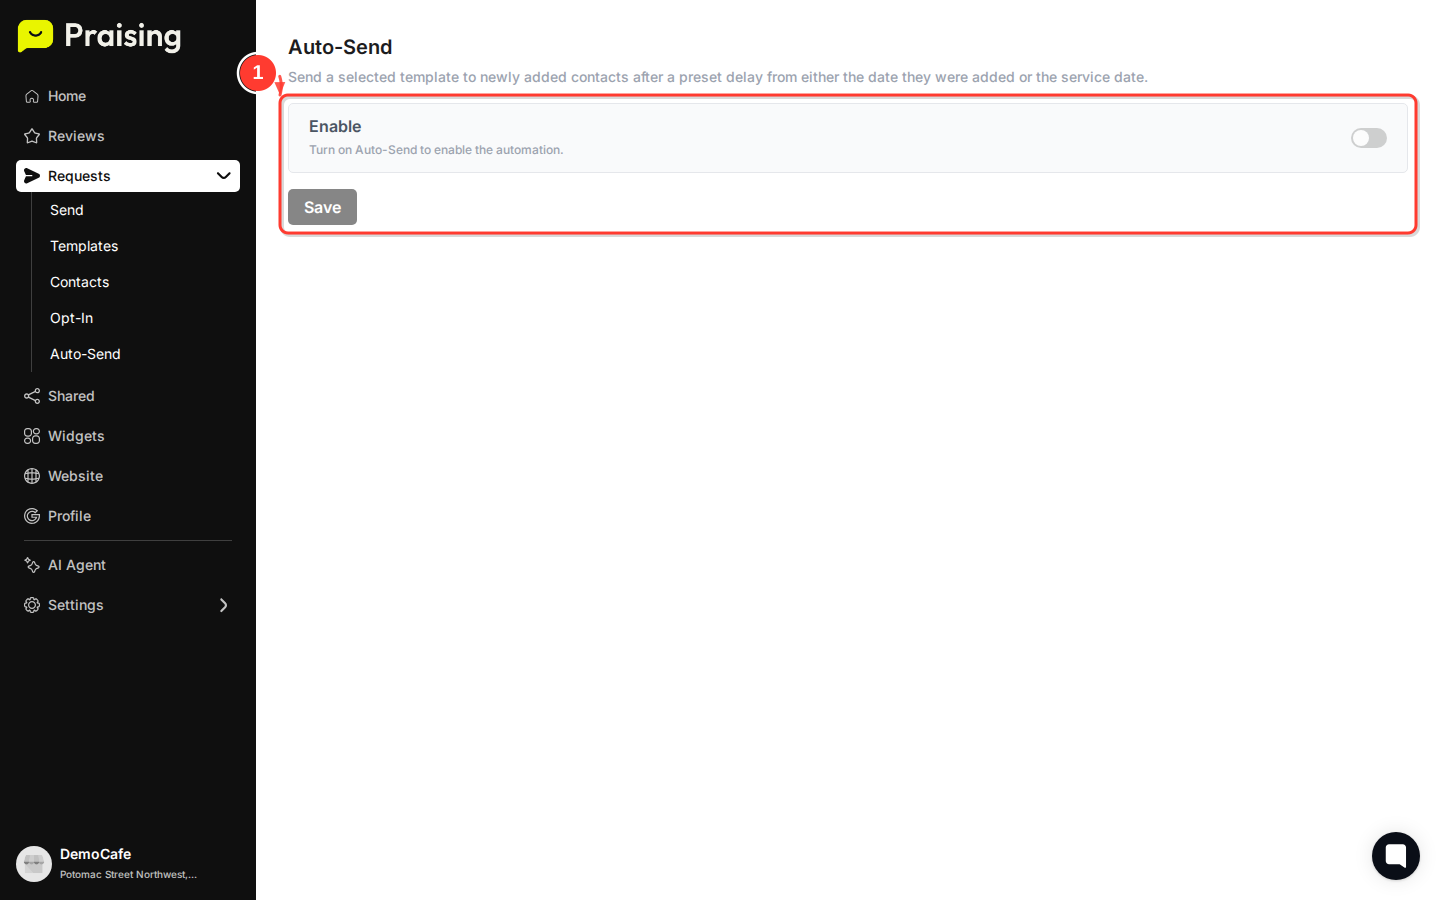
Navigate to the auto-campaign settings page where you'll configure your automated review requests.
The Auto-Send feature allows you to automatically send selected templates to newly added contacts. You can set delays based on either when contacts were added to your system or their actual service date, giving you flexibility in timing your outreach.
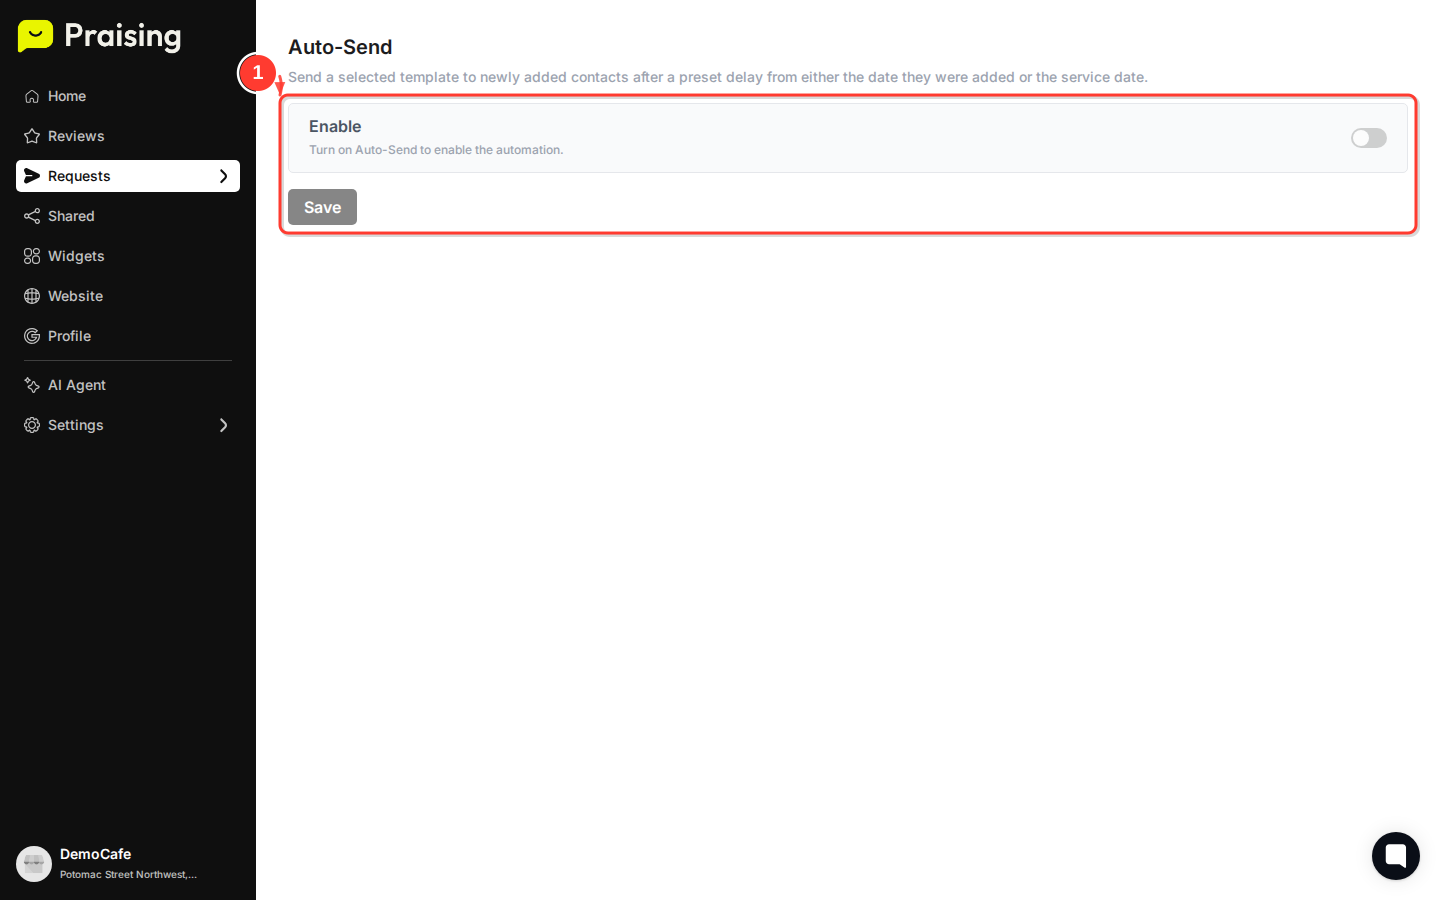
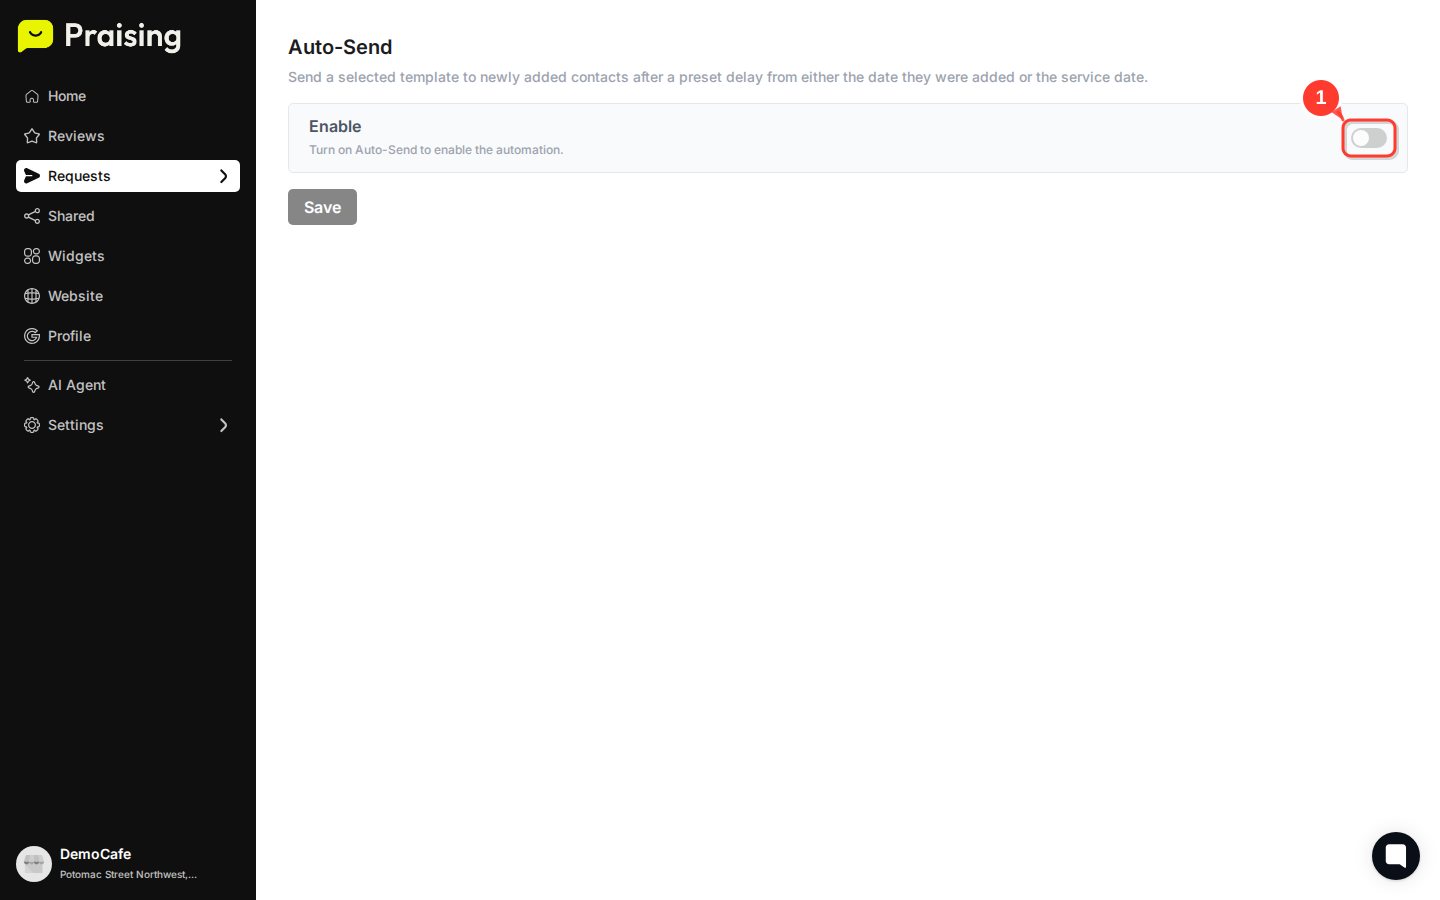
Turn on the Auto-Send feature by toggling the enable switch. This is the master control that activates your entire auto-campaign system.
When enabled, this toggle tells Praising.ai to begin monitoring for newly added contacts and automatically send your configured review request template based on your delay settings.
After enabling Auto-Send, you'll need to select which review request template to send and set your delay preferences. The system will reveal additional configuration options once activated.
Choose from your existing review request templates and specify whether the delay should count from the contact addition date or the service date. This timing flexibility helps ensure your requests arrive at the optimal moment for each customer.

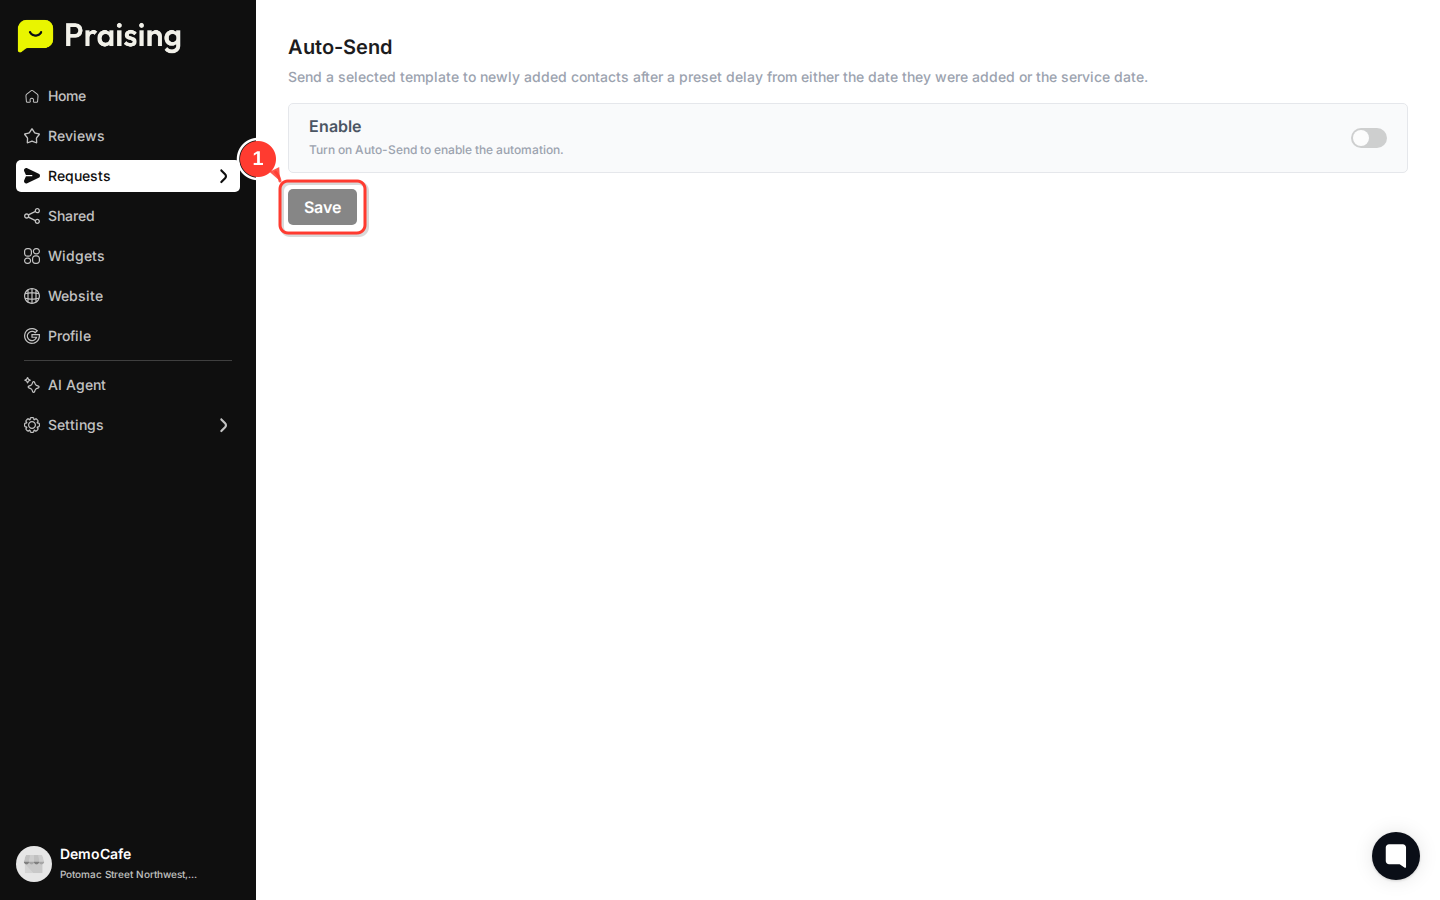
Click the "Save" button to activate your auto-campaign configuration. The button will become active once you've made your selections.
Your auto-campaign is now live and will begin processing newly added contacts according to your specified delay and template settings.
Tip: Start with a 2-3 day delay from the service date for most businesses. This gives customers time to experience your service while the interaction is still fresh in their minds. You can always adjust the timing based on your response rates.
Check your Requests section regularly to track how your auto-campaigns are performing and see which contacts have received automated messages.
This view shows you all outgoing review requests, including those sent automatically, so you can monitor response rates and adjust your strategy as needed.
Tip: Test your auto-campaign with a few contacts first to ensure your template and timing work well for your business before fully activating it for all new contacts.
Once your auto-campaign is running, consider creating multiple templates for different service types or customer segments. You can also set up manual review requests for high-value customers who might benefit from a more personalized approach. Monitor your response rates and adjust your delay timing to optimize results.
