
Campaign templates in Praising.ai let you build and reuse email campaigns without starting from scratch each time. You get consistent messaging across every request, and setting up new campaigns takes a fraction of the time.
Create a new template
Navigate to Templates by opening the left-hand navigation, selecting Reputation, then clicking Templates under the Requests section. The full path is
/dashboard/reputation/templates.
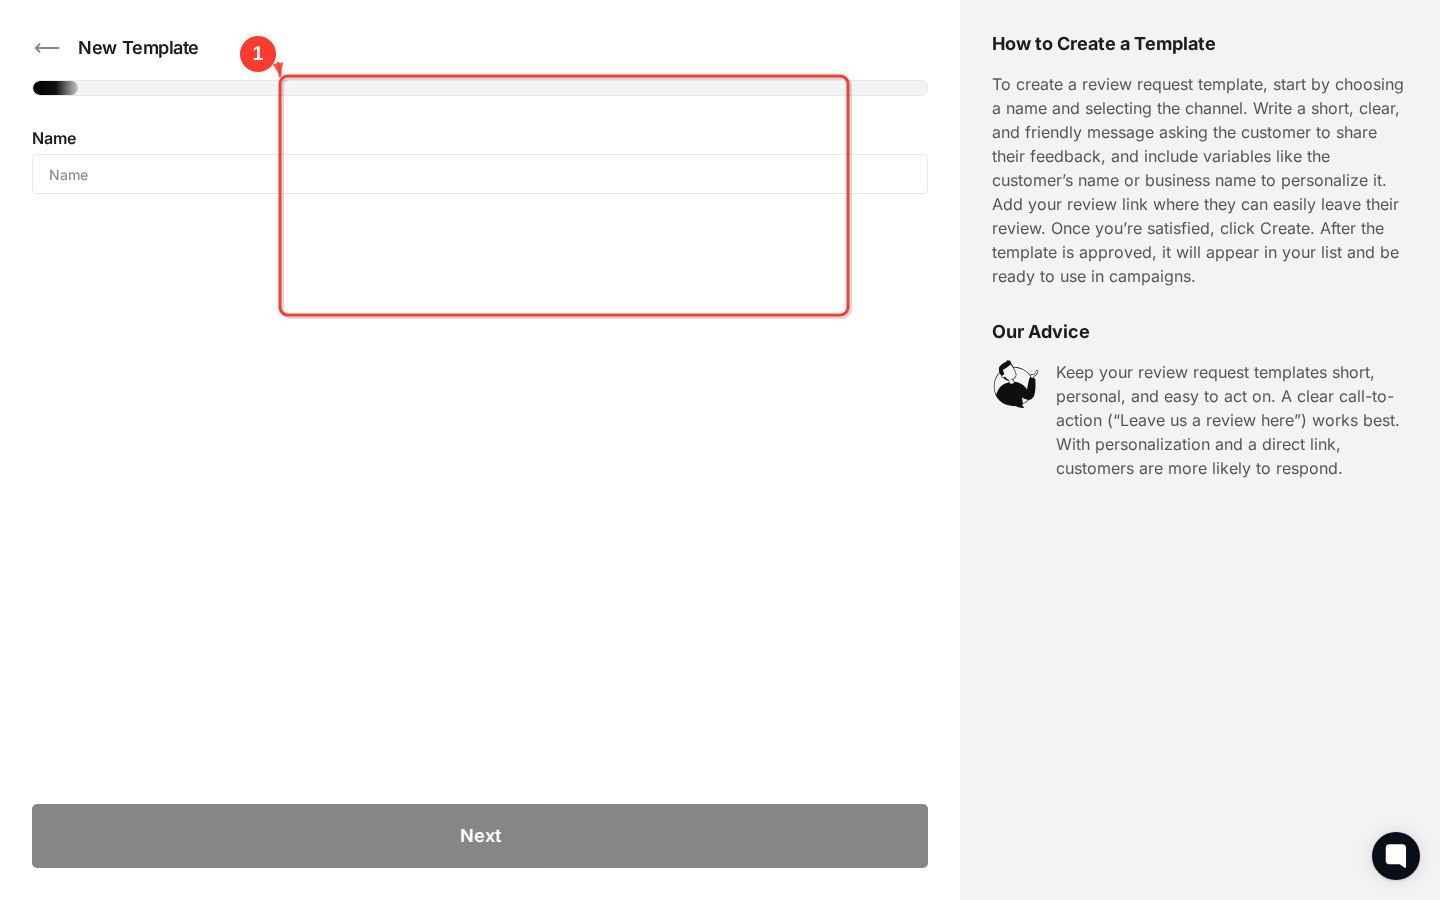
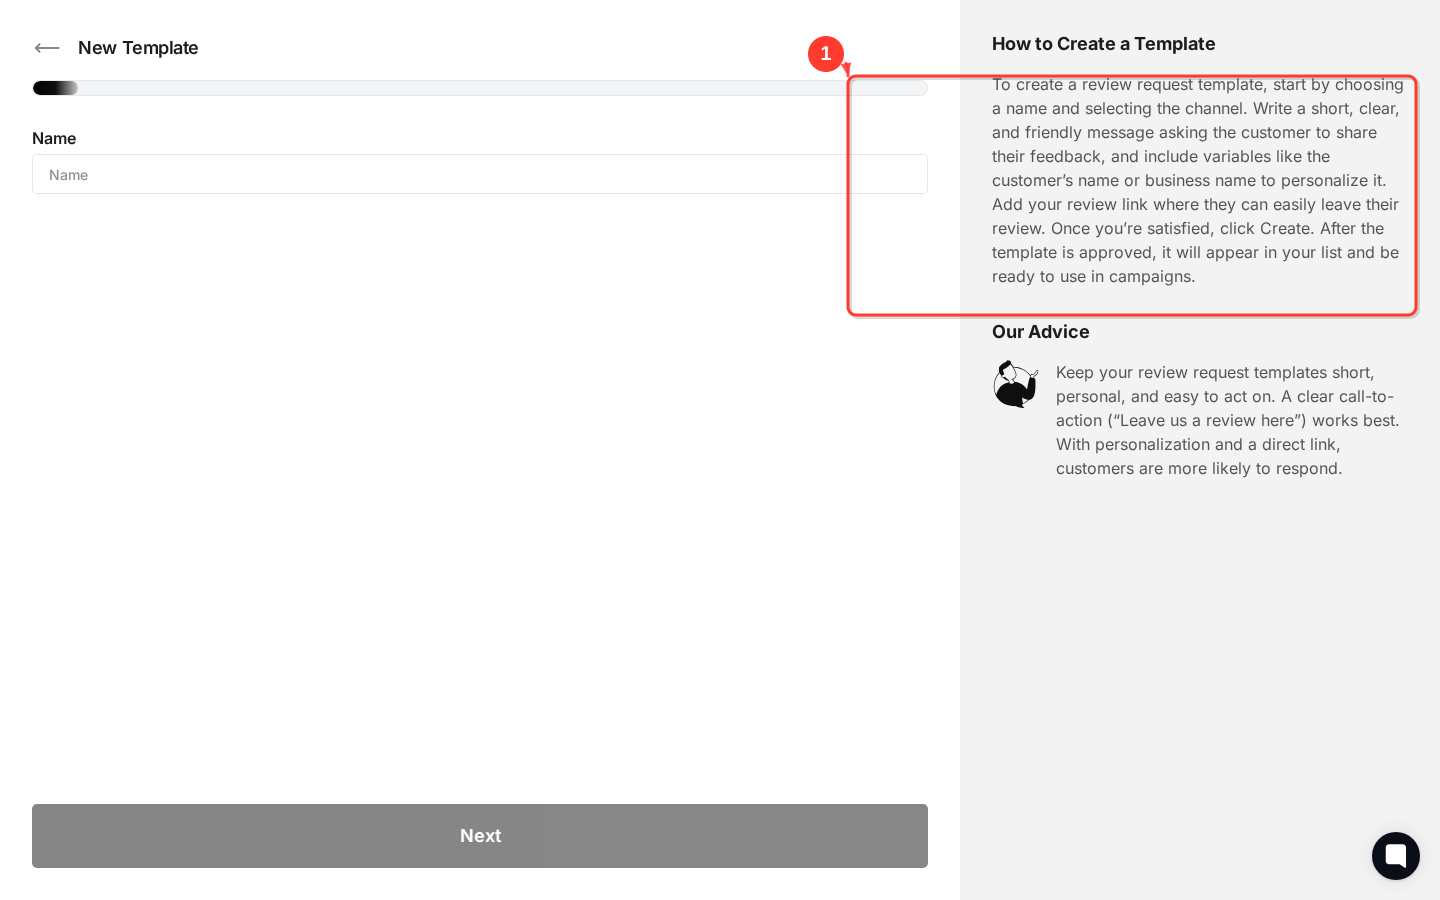
Click the "New Template" button to open the template creation interface, where you'll define your campaign settings and messaging.
Select your template type and channel. Choose from options like "Post-Visit Review Request" and select Email as your delivery channel. The template type determines what pre-populated content and timing suggestions you'll see.
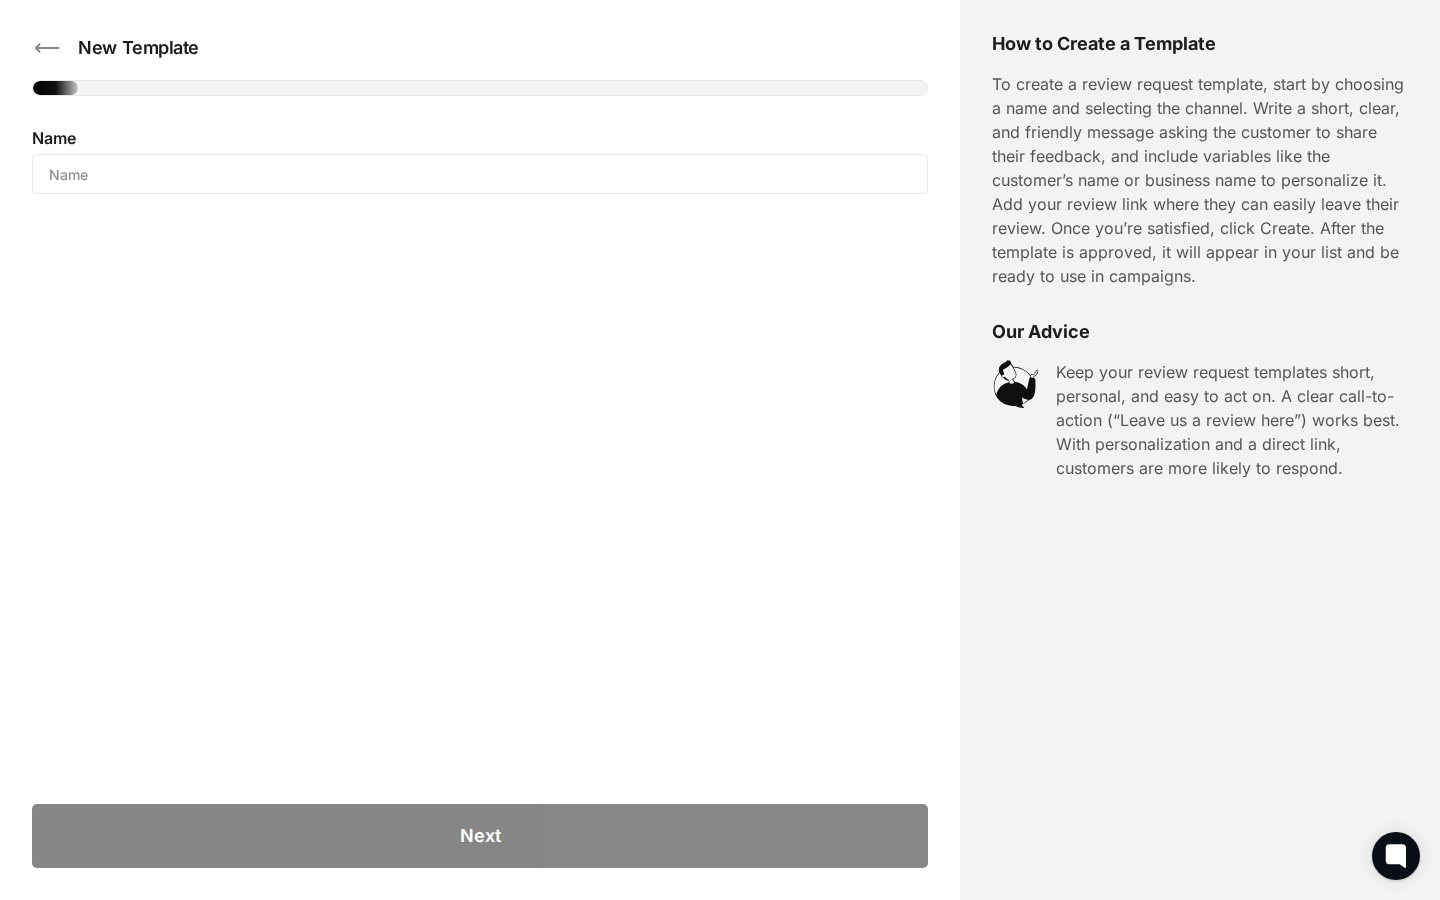
Configure your template settings, including the campaign name, timing, and target audience. Set when the template should trigger (like 24 hours after a visit) and define any customer segmentation rules.
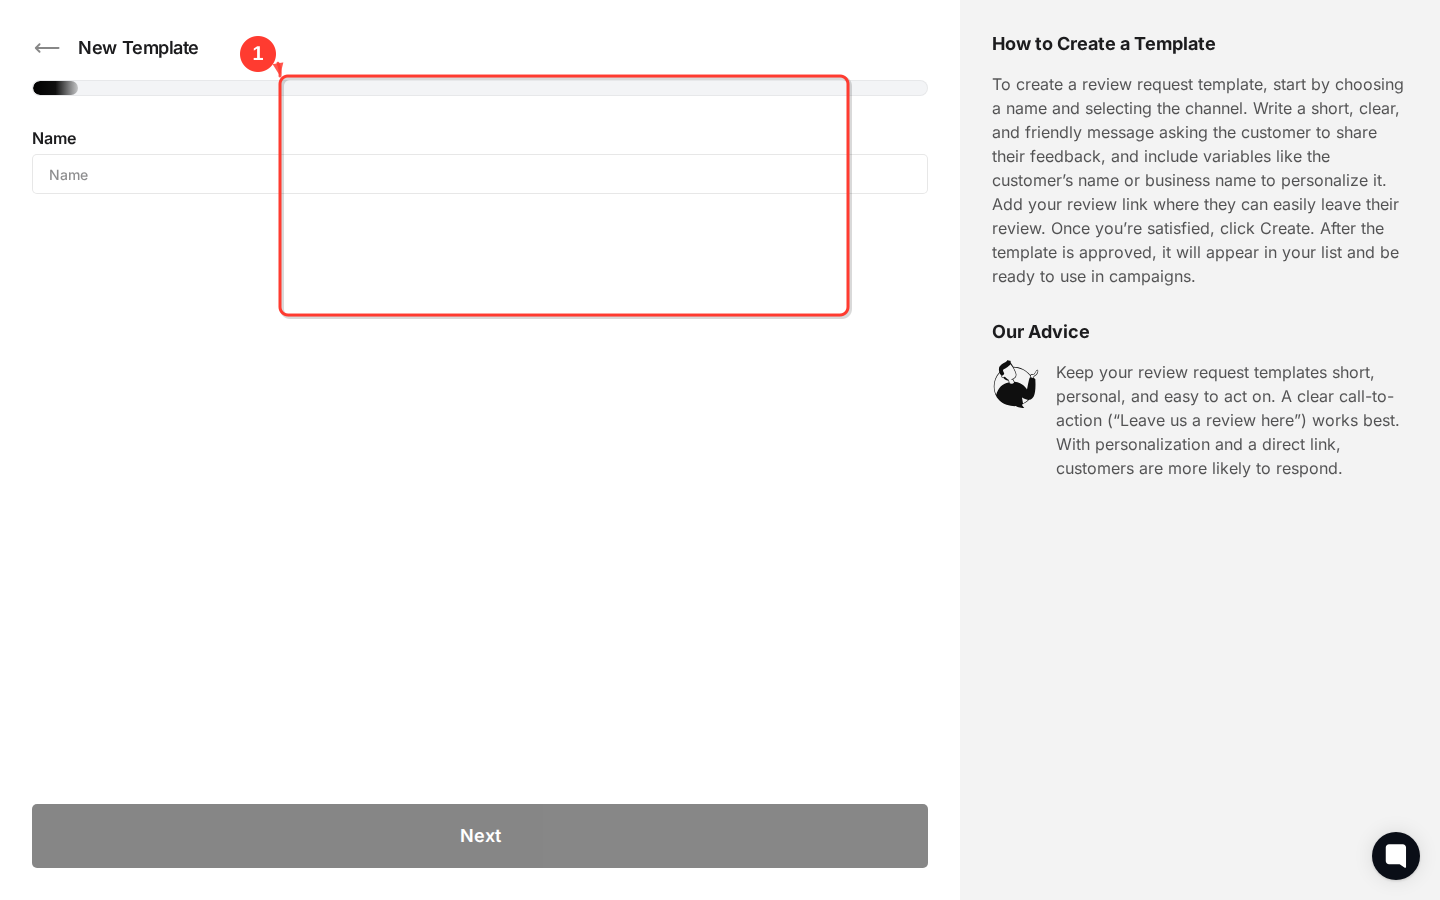
Customize your template content
Edit the email subject line and body content to match your brand voice. The editor gives you formatting options and merge fields so you can personalize messages with customer and business details.
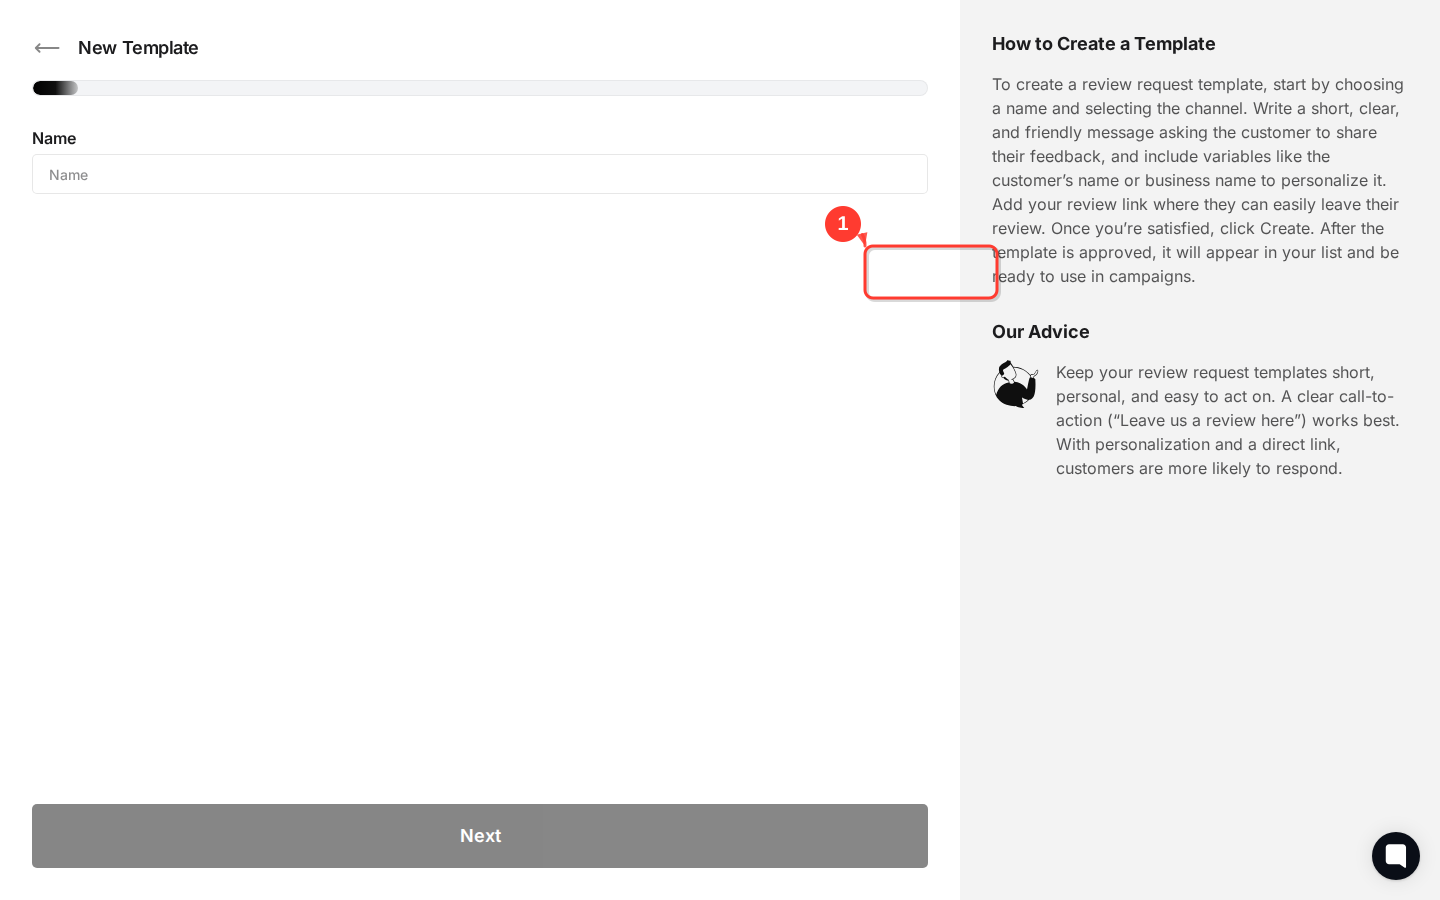
Preview your template by clicking the Preview button to see exactly how your email will appear to customers, including merge field values and layout.
Manage existing templates
Review your template library to see all your templates along with their status (Active/Inactive), creation dates, and channel type. You might see templates named "Dogfood Template," "Reminder tpl," "Campaign test," and "Auto-send test," each showing its channel (Email) and creation date.
Use the action buttons on each template card to manage your templates:
Preview — see how the template looks to recipients
Duplicate — copy a template to use as a starting point
Edit — open the template to make changes
Delete — permanently remove a template you no longer need

What's Next?
Once your templates are ready, you can activate them in automated campaigns or use them for manual review requests. Set up separate templates for different scenarios, like post-purchase follow-ups or service completion requests. Check your campaign analytics regularly to see what's working and adjust from there.
Open templates →