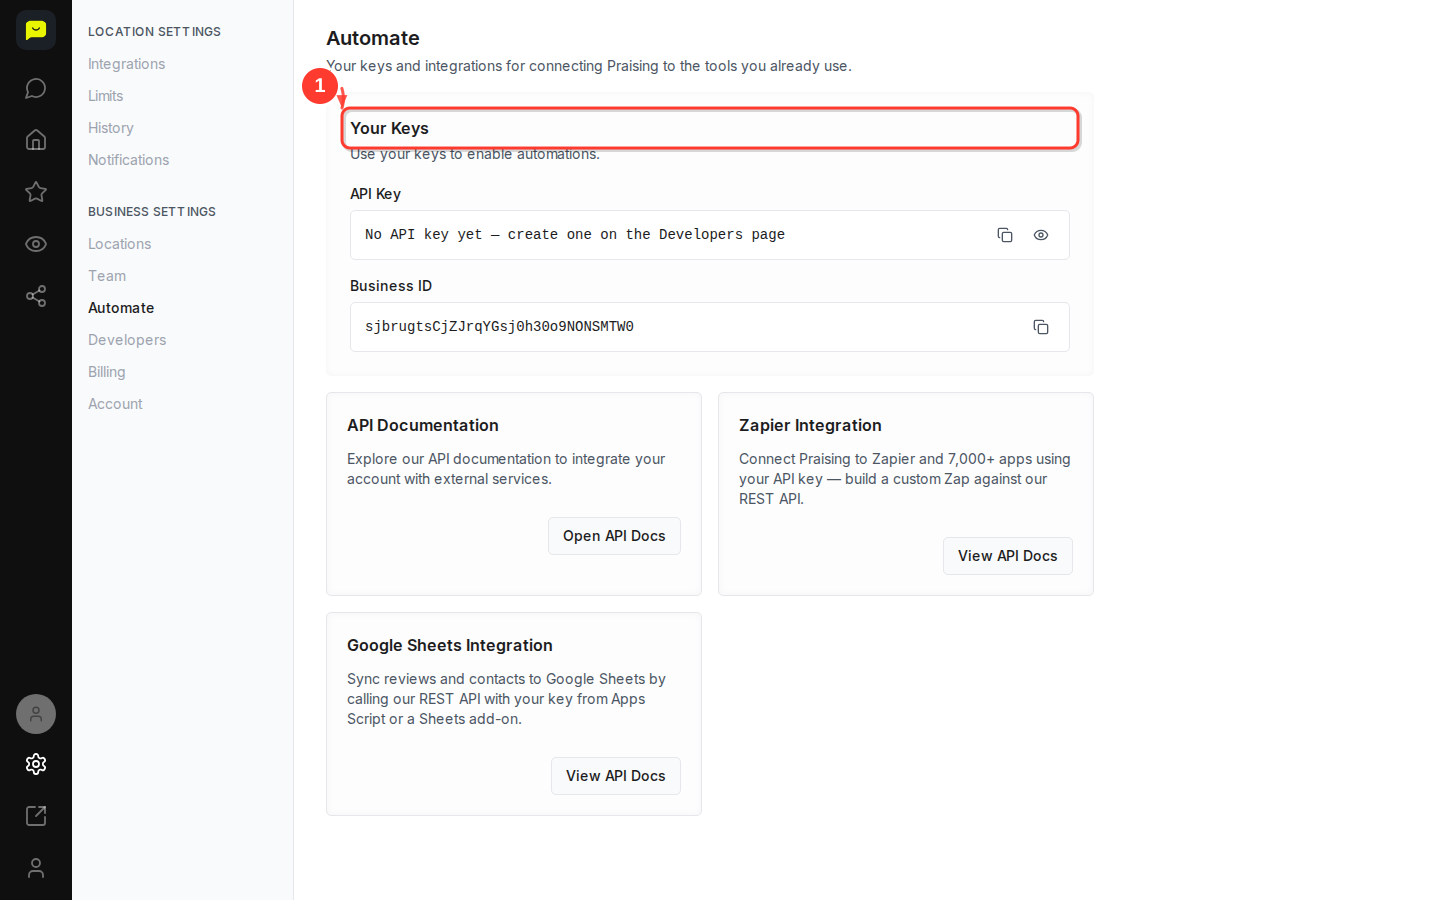
The Automate page (paid plans) gives you what you need to connect Praising.ai to your own tools: your API key, your Business ID and links to the API docs. It doesn't run any automations by itself. Instead, your tools or a custom Zap use the Praising REST API and webhooks to act on new reviews, leads and private feedback.
Go to Settings → Automate in the left-hand navigation to reach the Automate page at /dashboard/settings/automate.
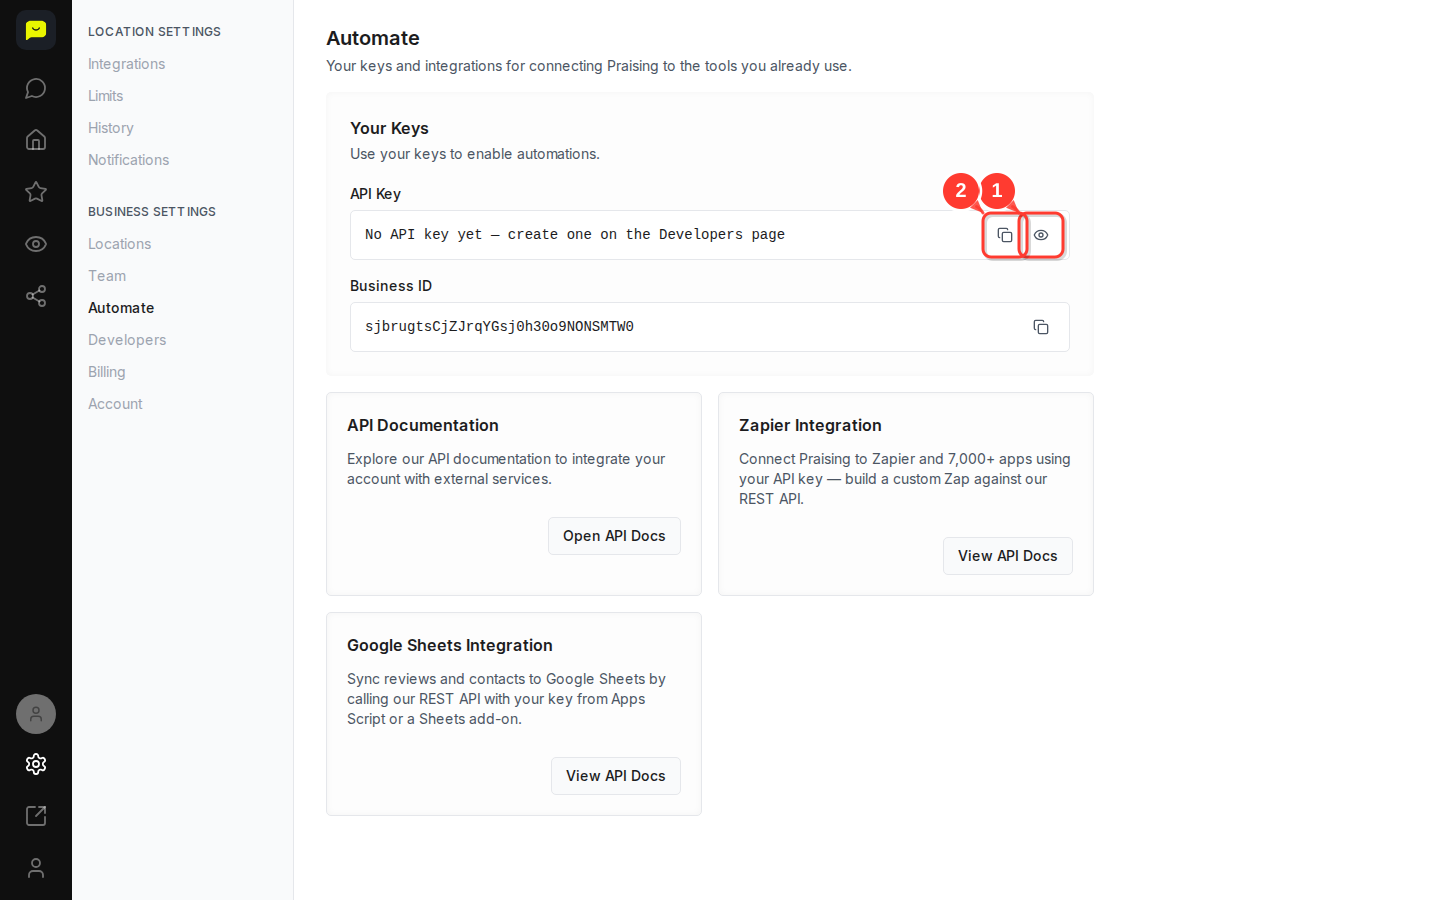
Review your API key details
Your API key appears under the Your Keys section. If you haven't created one yet, the page shows "No API key yet — create one on the Developers page." Head to Settings → Developers to generate your key, then come back here. Once a key exists, click Reveal to view it and Copy API key to copy it to your clipboard. This key authenticates your account when connecting to external services.
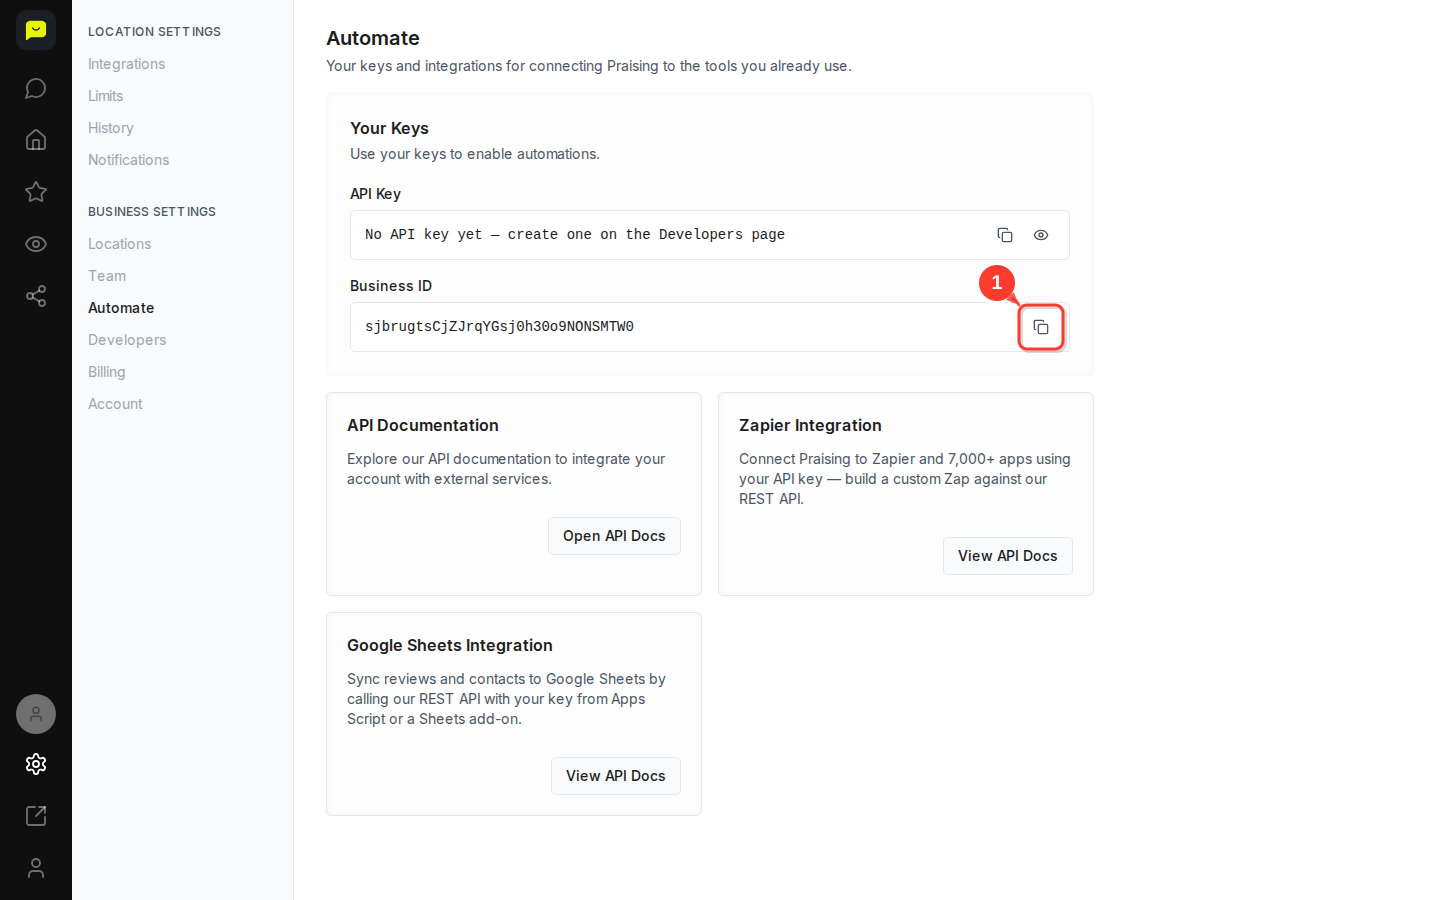
Copy your Business ID
Your Business ID appears directly below your API key in the Your Keys section. Click its copy icon (Copy Business ID) to copy it. It's your account's ID, the same one the API's GET /api/v1/me returns; API calls themselves only need your key.
Below Your Keys, three cards point you to the API docs. Every way of connecting goes through the Praising REST API and webhooks.
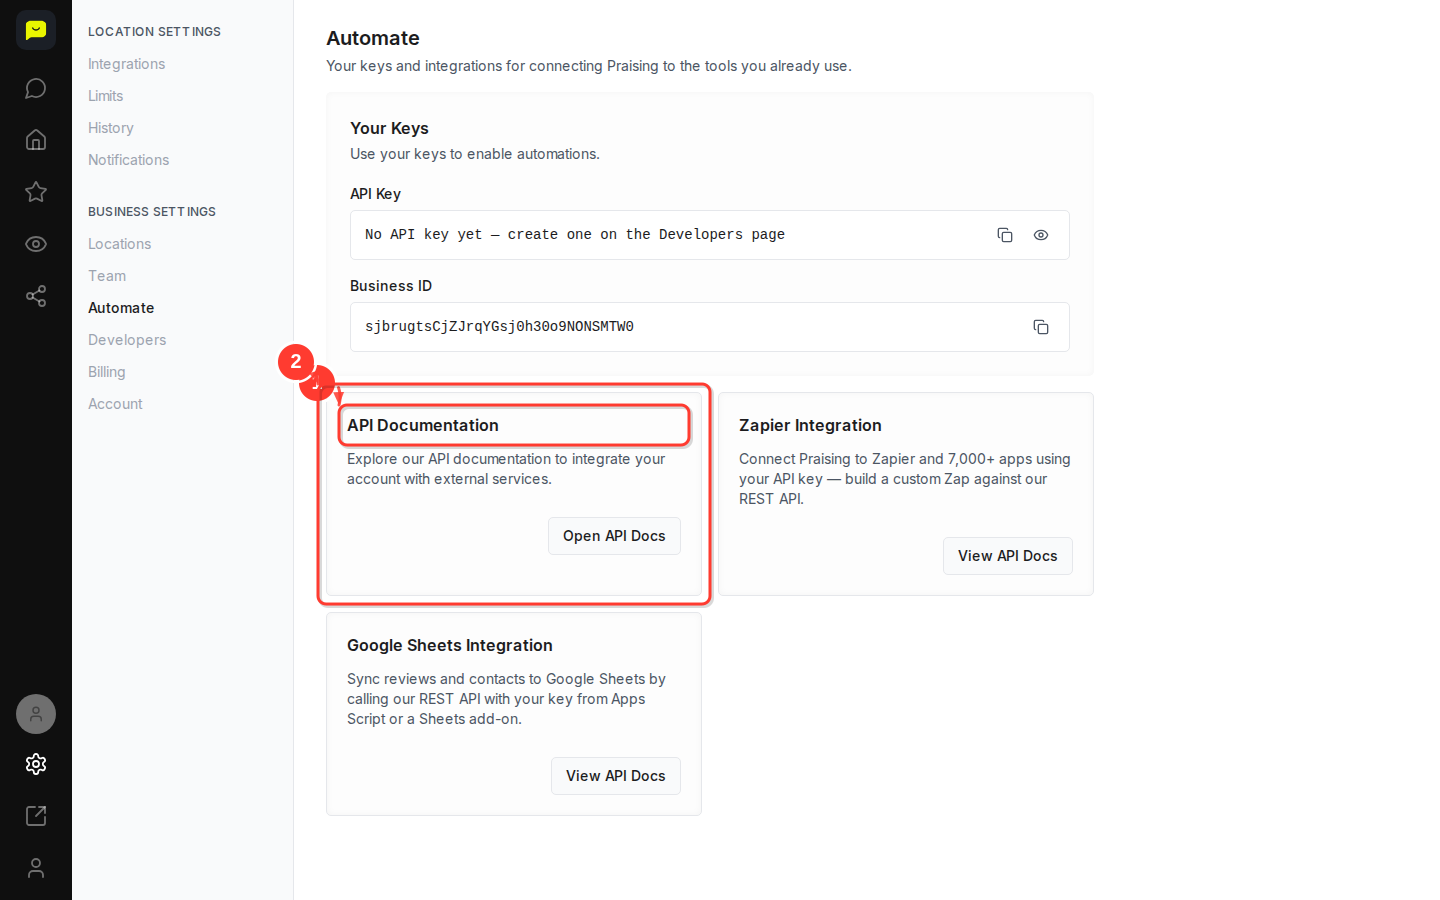
Access the API documentation
In the API Documentation card, click Open API Docs. It takes you to the Developers page, where the API reference shows the base URL and example requests for listing reviews, adding contacts and sending a review request. Owners and admins create API keys and webhooks there too.
Build a custom Zap
In the Zapier card, click View API Docs. Praising doesn't publish a Zapier app yet, so you build your own Zap against the Praising REST API and webhooks, which takes some technical setup.
Set up a Google Sheets integration
In the Google Sheets card, click View API Docs. There's no Sheets add-on yet, so you sync reviews and contacts into a sheet with your own Apps Script that calls the Praising REST API.
With your credentials in hand, you can start building automations that fit your workflow. Think through what you want to trigger automatically. Common setups include sending review notifications to Slack, pushing customer data to your CRM, or flagging reviews of 3 stars or fewer for follow-up using the star rating in each review.created event.
Plan your automation workflow
Sketch out the trigger and the action before you start configuring anything. Knowing exactly what should happen and when makes the setup much faster.

A few things worth keeping in mind as you configure your rules:
Test with sample data before switching any automation to production
Check in periodically to confirm your automations are still running as expected
Keep credentials private — don't share your API key or Business ID in public forums or unsecured locations
Revisit your rules when your business processes change, so your automations stay accurate
Once the basics are working, here are a few directions worth exploring:
Build custom webhooks using the API docs to connect Praising.ai with tools specific to your business
Set up a custom Zap on the review.created webhook to post positive reviews to social media or your team chat
Sync data to Google Sheets to build dashboards and track review trends over time
Use each review's star rating from the review.created webhook to send reviews of 3 stars or fewer straight to your customer service team
